Tattoo Inspiration Board: Give Your Saved Ideas a Direction
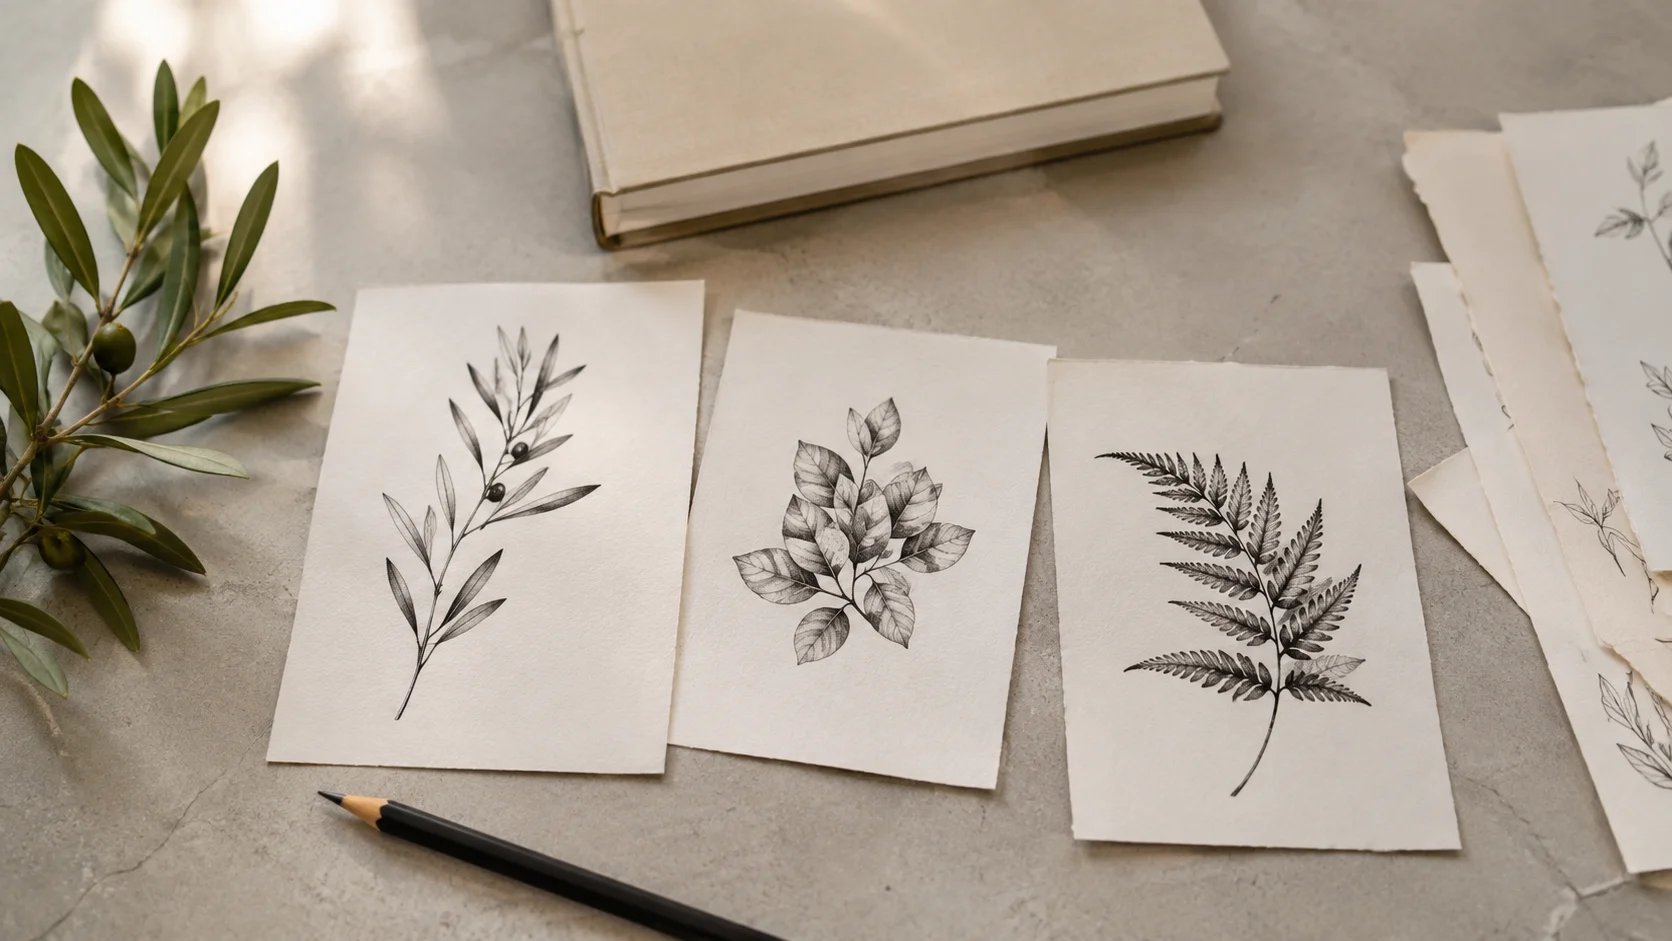
A fine olive branch, a heavy black fern, a whole shoulder covered in flowers. Each image earns a save. Put them together and the intended tattoo gets harder to see. The subject is botanical; almost everything else is still undecided.
A tattoo inspiration board becomes useful when you can name what belongs together. For a piece on the outer upper arm, that might be a long stem, dark leaves and enough open skin to see the branch from across a table. Now there is something to search for.
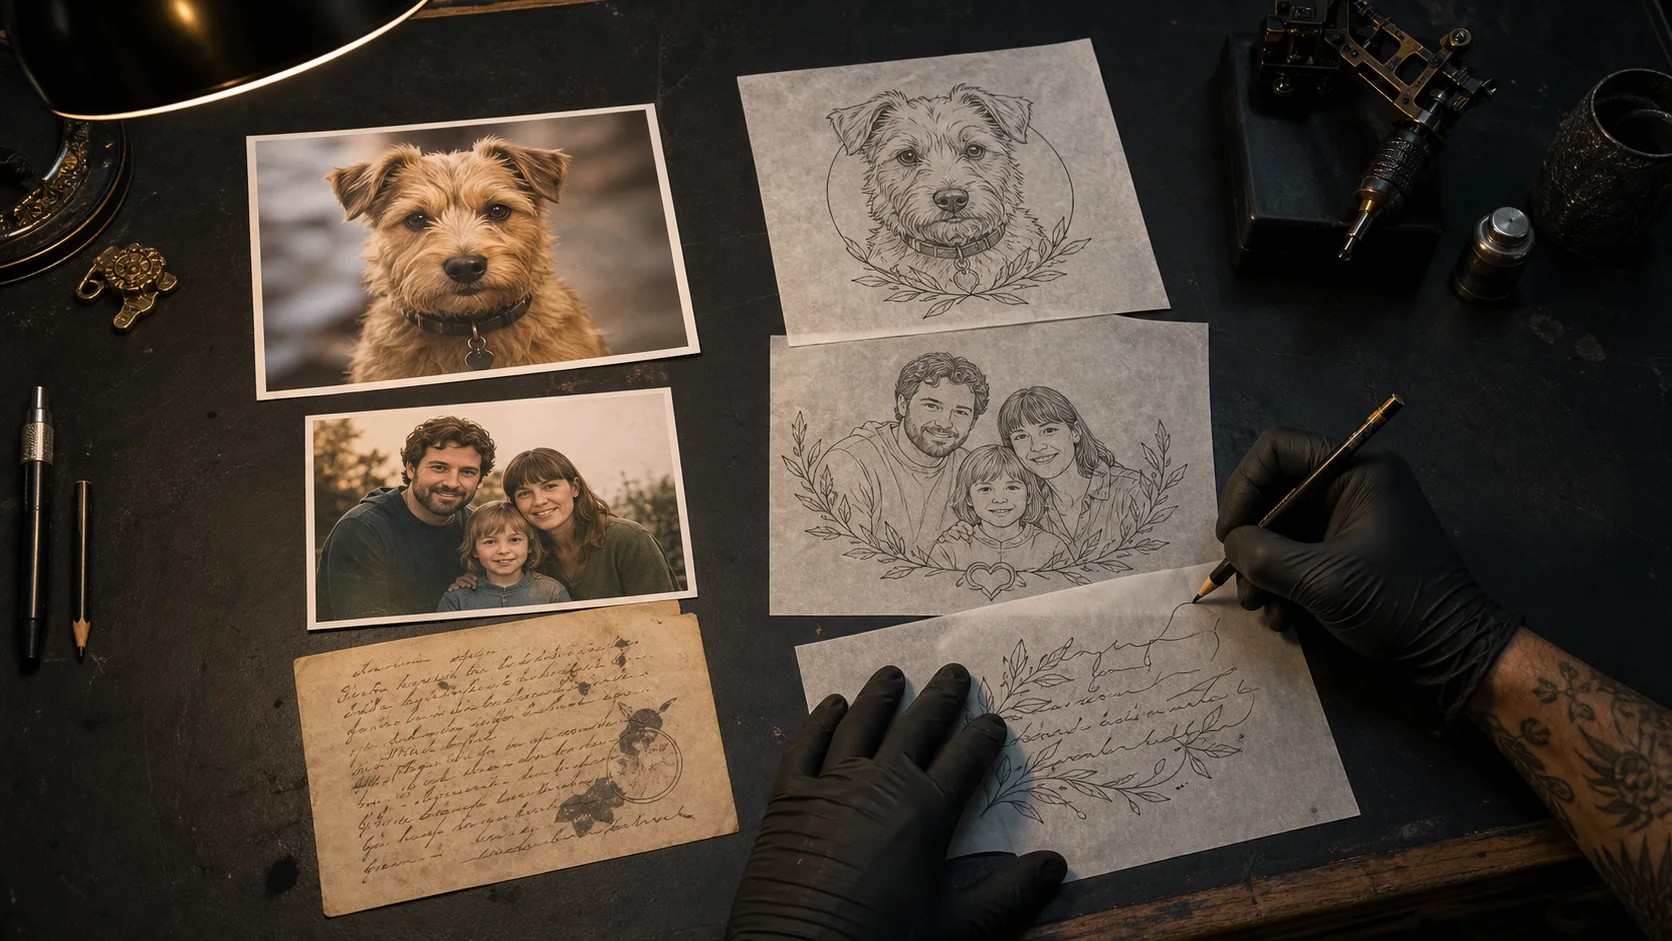
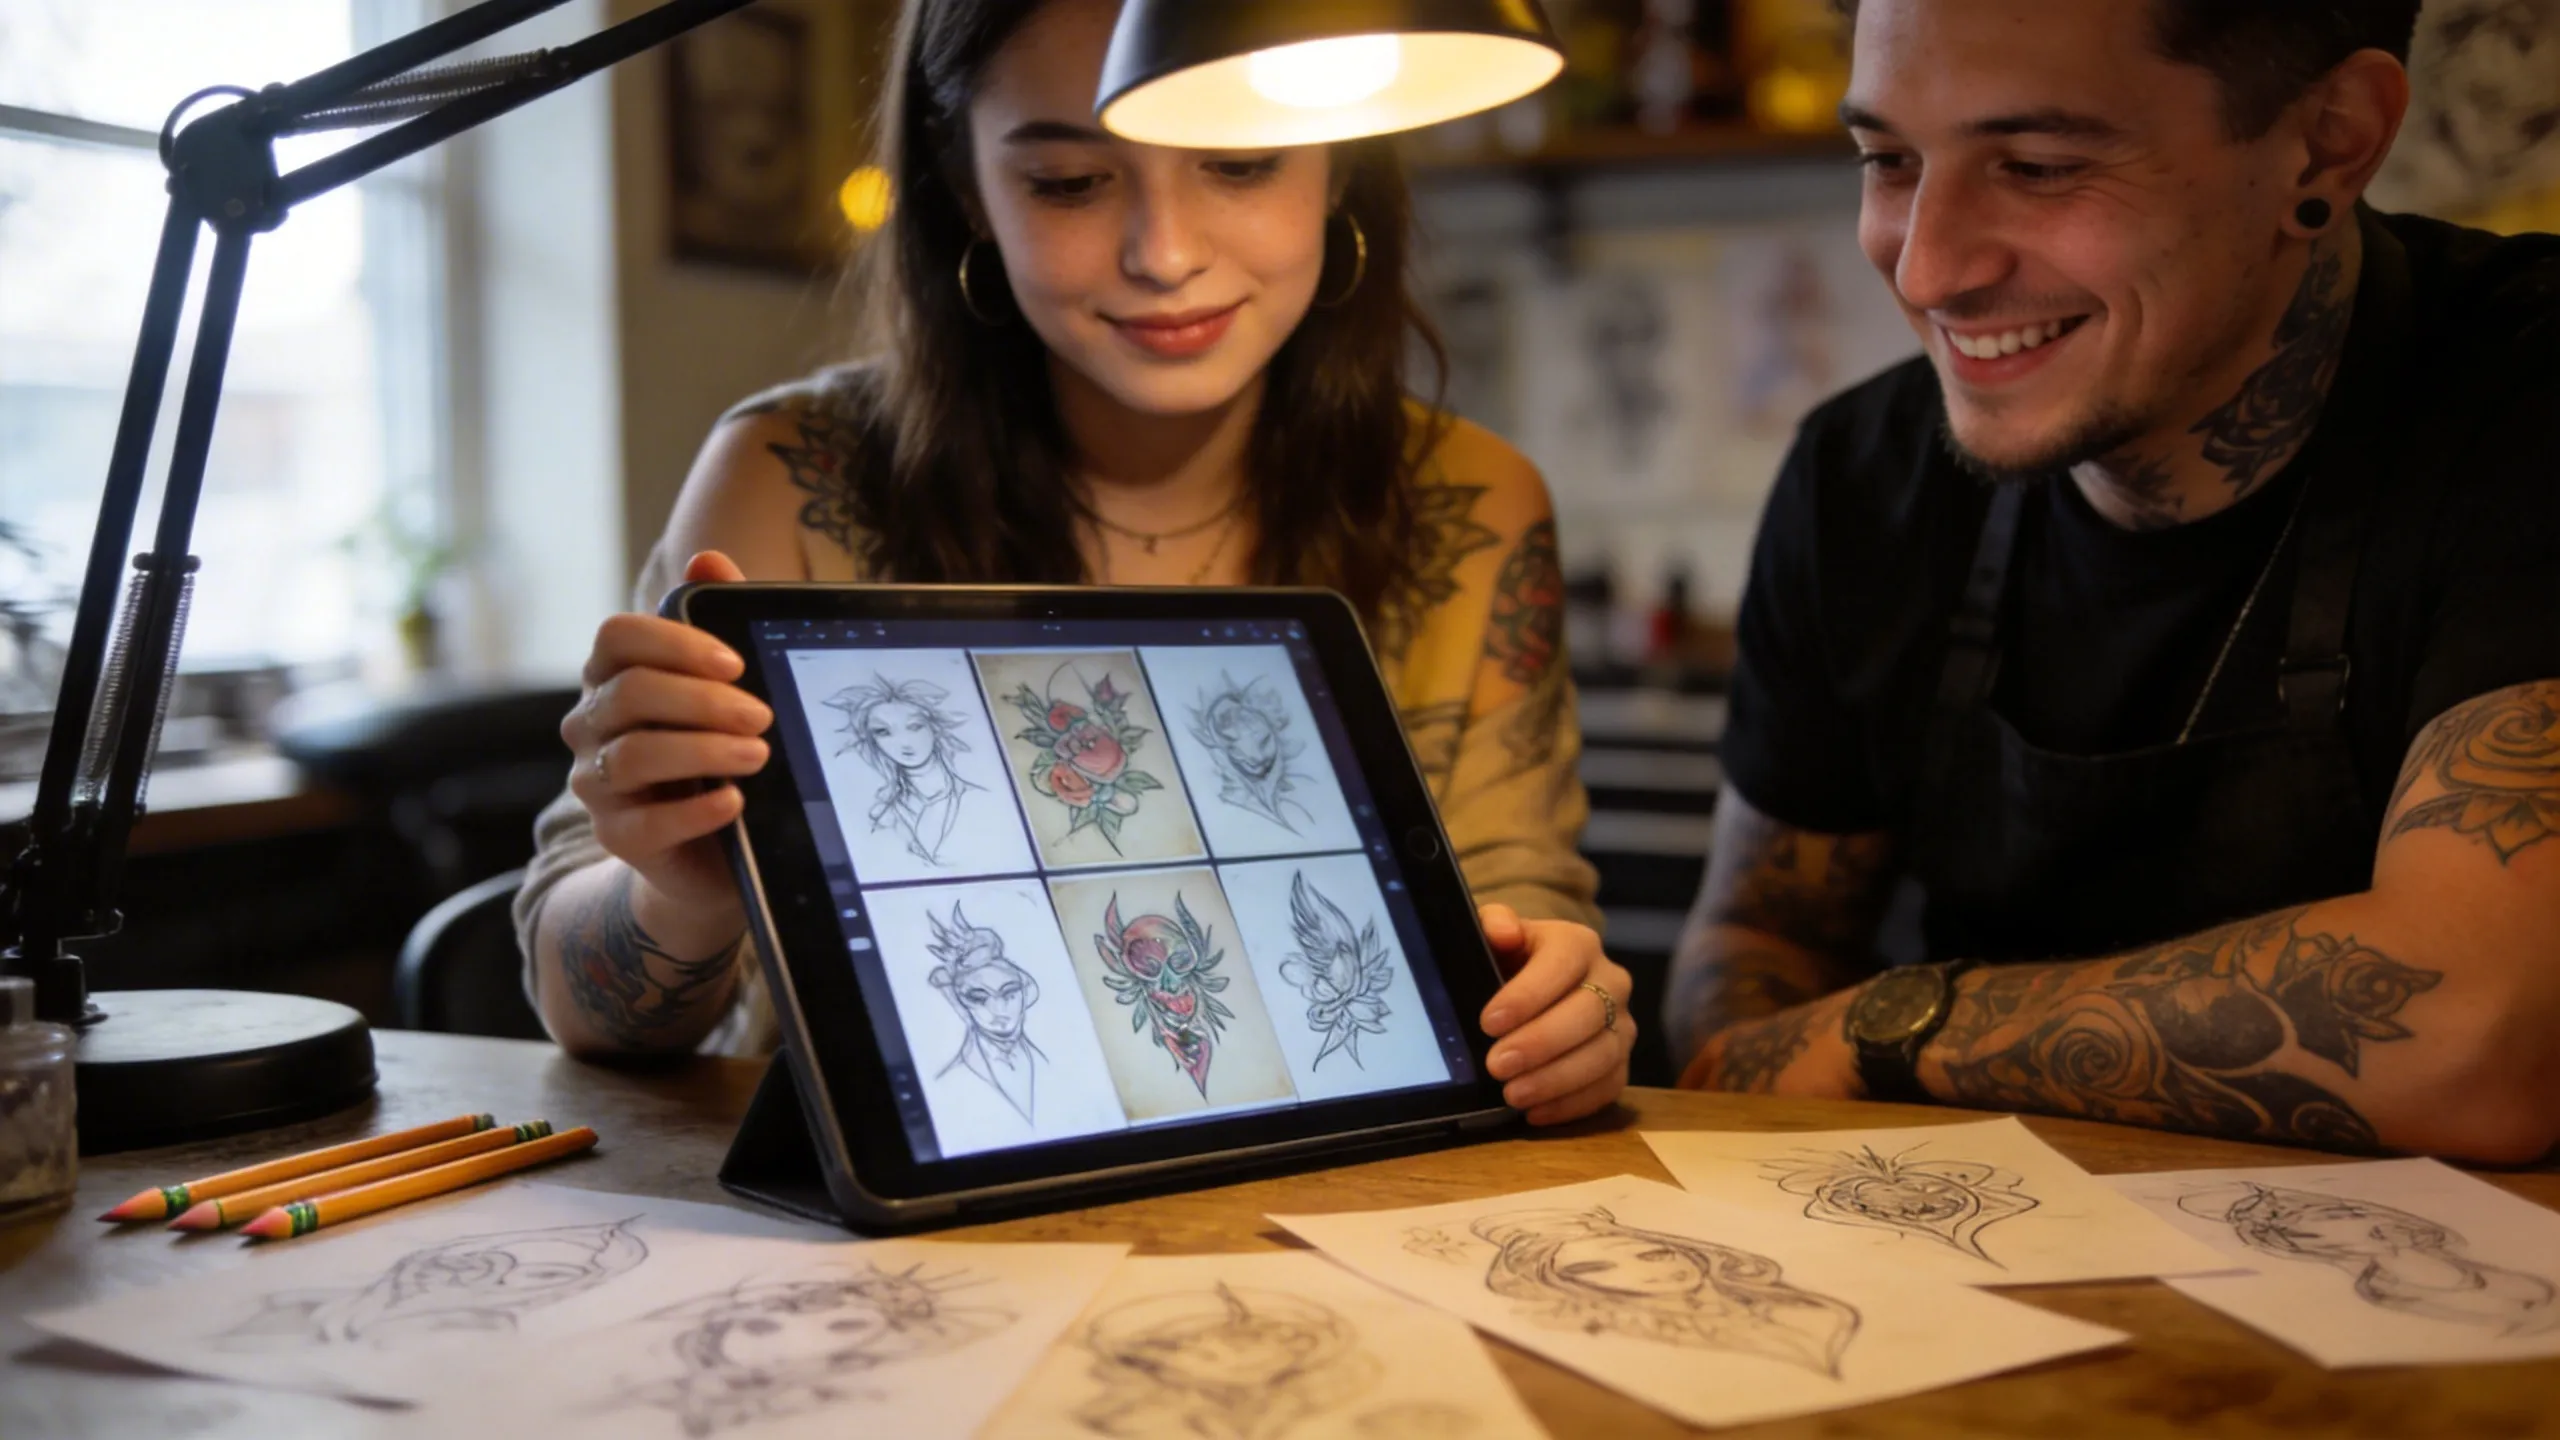
The images in this article were generated with AI to illustrate collecting and comparing ideas. The paper studies and consultation scene are invented. They are not OpenInk screenshots or documented tattoo results.
Start a tattoo inspiration board with one piece in mind
Give the collection a working name: “Outer upper arm — dark botanicals.” That name keeps the tiny wrist flower and the full-back forest from making decisions for this particular piece. You can save those for a separate project.
You do not need a finished design to begin. Pennsylvania tattoo artist Sarah Fiedler describes using subject photographs, tattoo references, body space and client comments to develop a custom piece. A photograph of the plant you actually like can explain the shape of its leaves better than another tattoo screenshot.
Keep that source photo in your own notes. Use an OpenInk board for the community designs you want to compare. The board is a saved collection; arranging a collage or adding written notes is a separate task.
Browse the community with a specific search
Open Community Works and try a motif such as “olive branch,” “fern” or “leaves.” Use the available style and body-placement filters to narrow the results. If a very specific combination returns little, loosen one filter or shorten the search. The current collection may simply have fewer examples in that direction.
Stay with the same subject while comparing styles. A fine-line branch leaves the skin doing much of the work. Solid black leaves create a stronger silhouette, but a crowded cluster can make the stem disappear. Soft shading changes the mood again. Those differences matter more than choosing the image with the most likes.
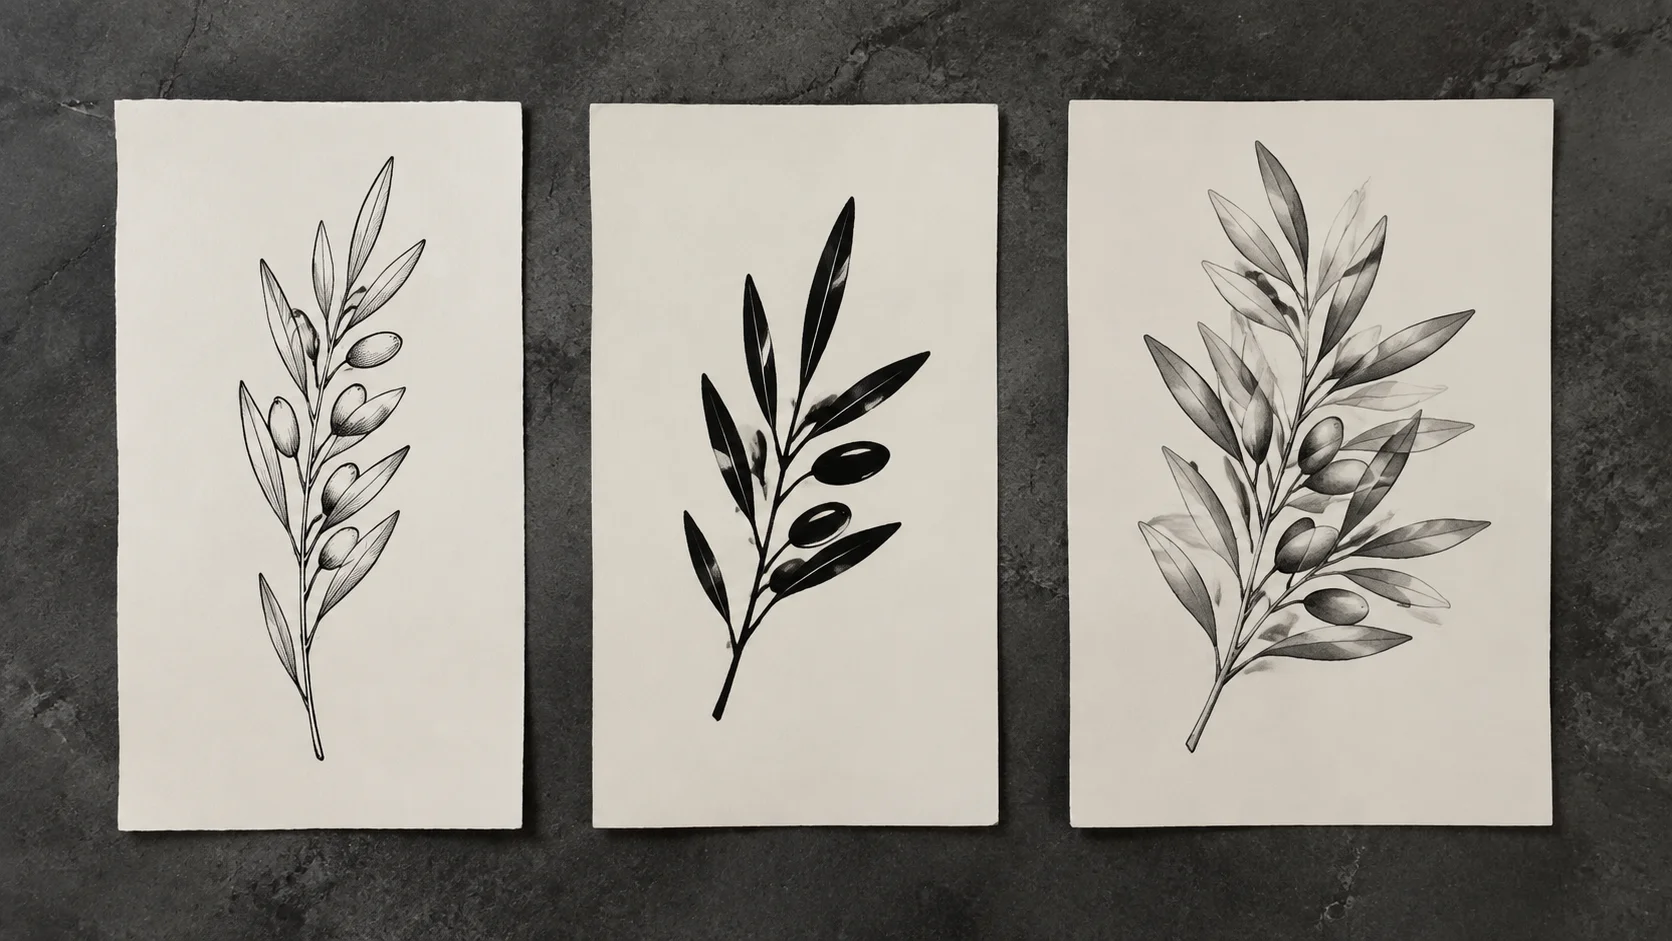
Open an image that interests you. Read its initial inspiration and any displayed design parameters, then look back at the drawing. Descriptions can help explain the intended direction; the visible lines still deserve their own inspection. With generated botanicals, watch for stems that stop abruptly, leaves that merge, or detail packed into spaces too small to judge on a phone.
Save the direction, then write down the reason
On the detail page, choose Save to a board. Sign in if prompted, select New board, give it your project name and create it. Later finds can go into that same collection. Your saved boards are in your account. A like can stay a passing appreciation; saving to a named board gives the image a place in this project.
For the first comparison, pull three to five images from your board. Beside their links in your own notes, write something you could actually say at the studio:
- “Keep the long bend in this stem.”
- “I like these dark leaves, with wider gaps between them.”
- “This branch is the right width; leave out the border.”
In a TattooDesigns community discussion about sending ideas to artists, a client weighs an image board against written notes and descriptions. Combining a few images with clear preferences is a practical way to remove that guesswork. Avoid asking the artist to copy another person's custom piece. Keep the original link when sharing a reference.
Bring the shortlist back to the arm
The screen has made every drawing roughly the same size. Your arm will undo that trick.
Write down the intended height and width. Print a rough silhouette at that size and hold the paper against the relaxed upper arm. A broad spray of leaves may turn out of sight around the side; a narrower stem may stay readable from the front. Check the sleeve of the shirt you usually wear, too.
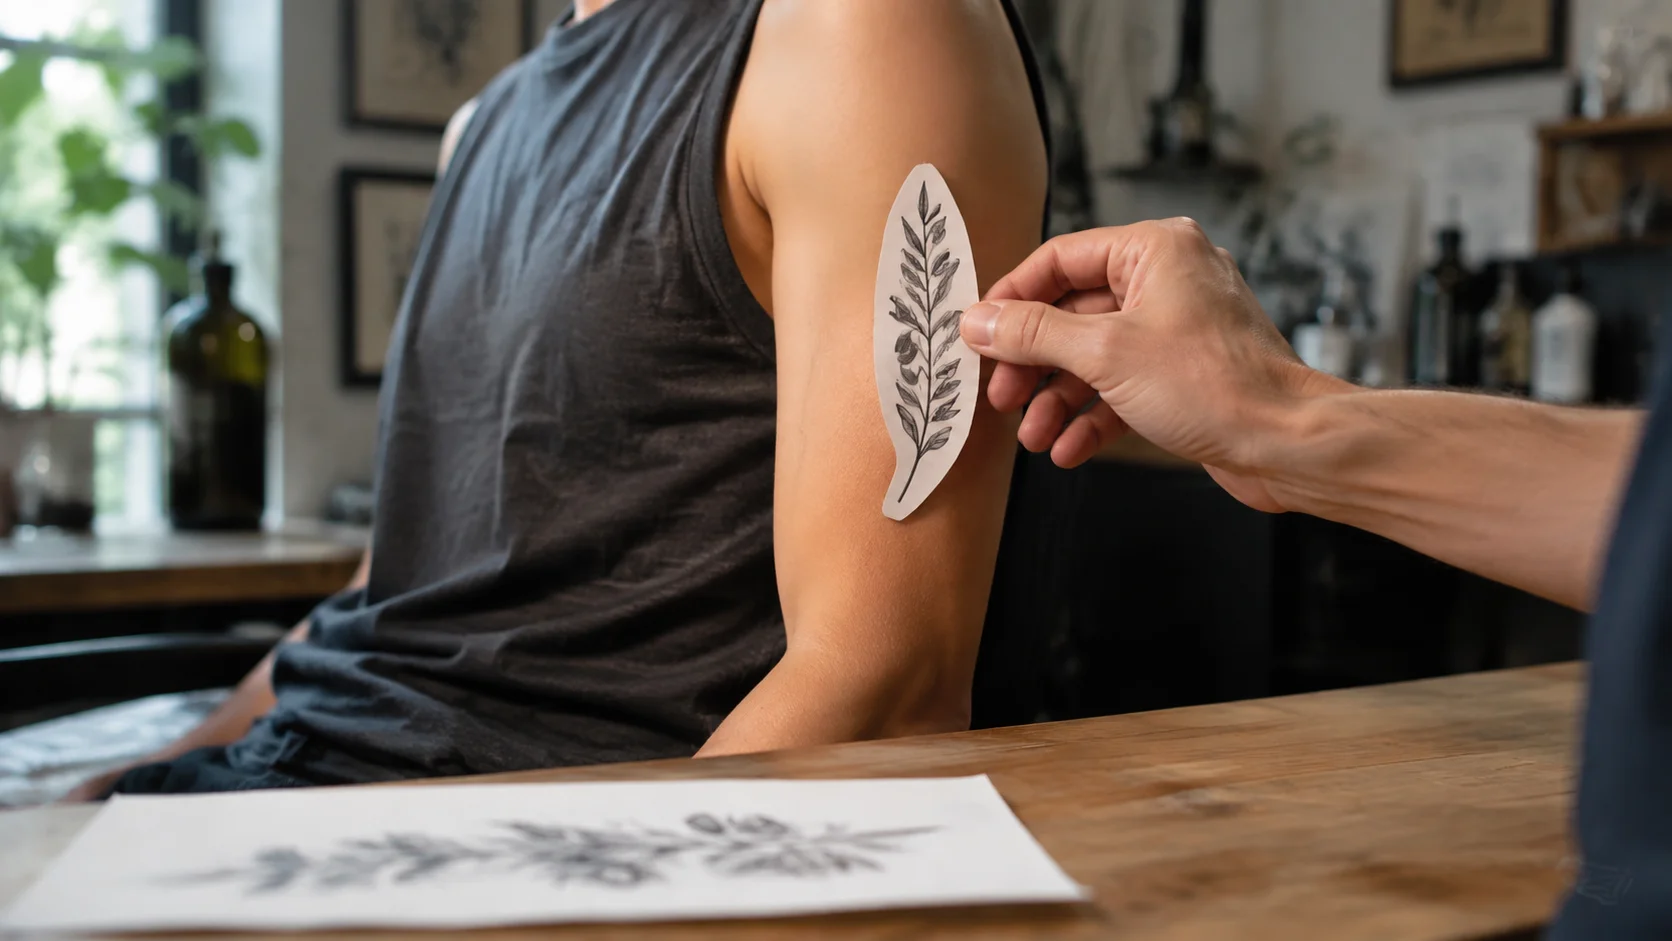
Studios such as Black Needle ask for the body area and approximate size alongside reference images. Those measurements let the artist assess the usable space. The tattoo placement guide covers paper tests and body movement in more detail.
OpenInk community images are design inspiration, including AI-generated concepts. An attractive skin rendering does not document a tattoo session or a healed result. For execution, look at the chosen tattooer's actual work at a comparable scale. Leave final line spacing, detail and stencil placement to that consultation.
Continue from a saved design
If one saved direction needs another sketch, Use this as a new draft carries its inspiration text into the generator. Edit that text before generating. It does not transfer the image as a locked reference or promise the same composition.
You can also stop at the collection. A few chosen references and a note about their useful features are enough to start talking to an artist; the design brief guide can help when that conversation becomes more detailed.
Browse Community Works and save the first image for your board. Give it a reason to stay: the bend of the stem, the space around a leaf, the way the whole shape could sit on your arm.
Turn this guide into a tattoo draft
Keep the motif from this article, then test style, placement, and line weight before you talk with an artist.