Tattoo Placement Guide: Size, Body Flow, and Long-Term Fit
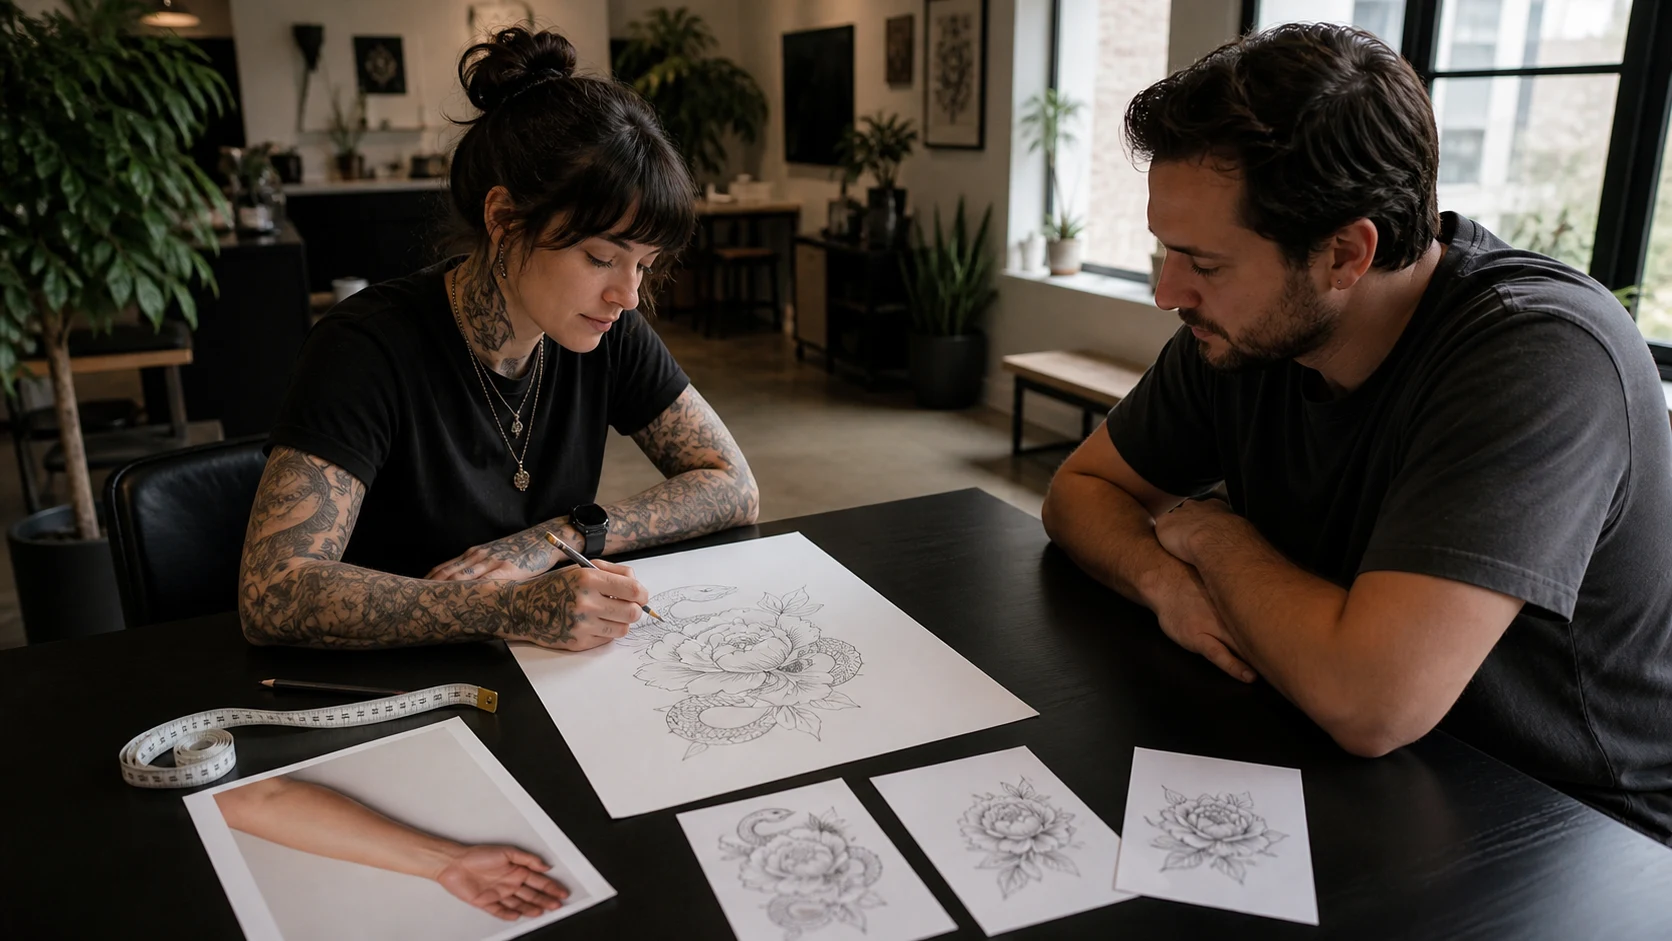
At the studio, a six-inch drawing can turn into three different tattoos without changing a line. Hold it straight down the outer forearm and it looks long and deliberate. Move it toward the inner arm and the design disappears when the hand rests. Carry it onto the elbow and the focal point folds every time the arm bends.
That is the practical side of tattoo placement. Skin curves around the limb, compresses at joints, and turns parts of the image out of view. A sound choice accounts for the silhouette of the artwork, its actual size, the resting position of the body, clothing, sun, and any work you may add later.
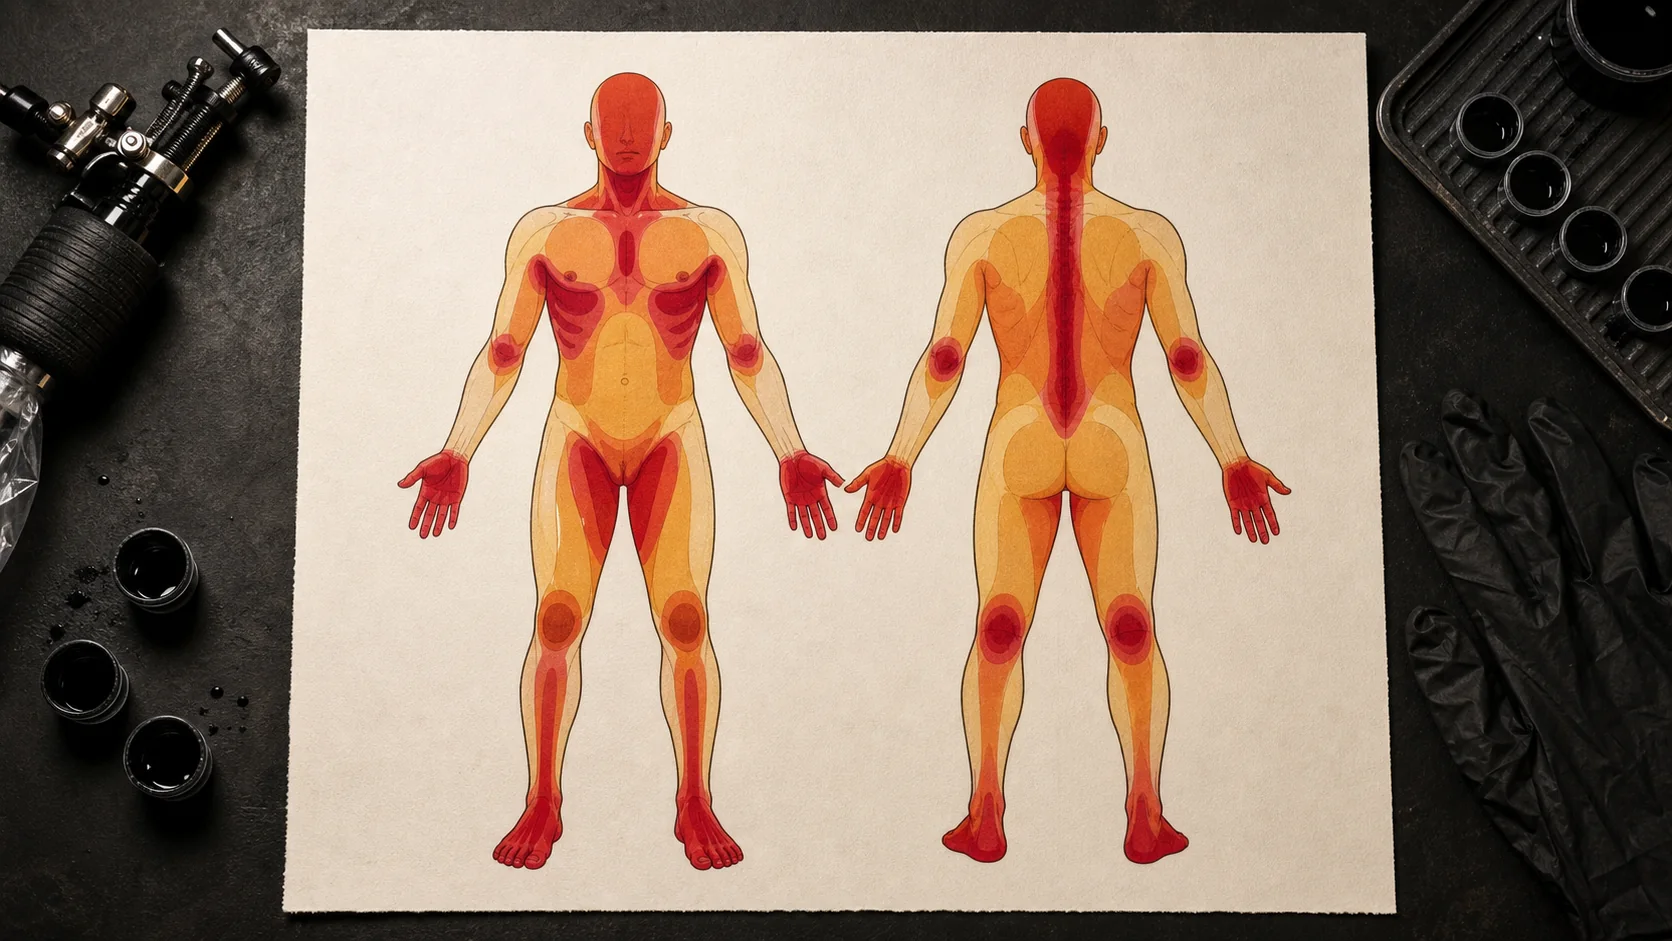
Pain belongs in the decision, though it should not make the whole decision. Use the tattoo pain chart to set expectations, then come back to the way the artwork has to sit.
Match the tattoo placement to the design's silhouette
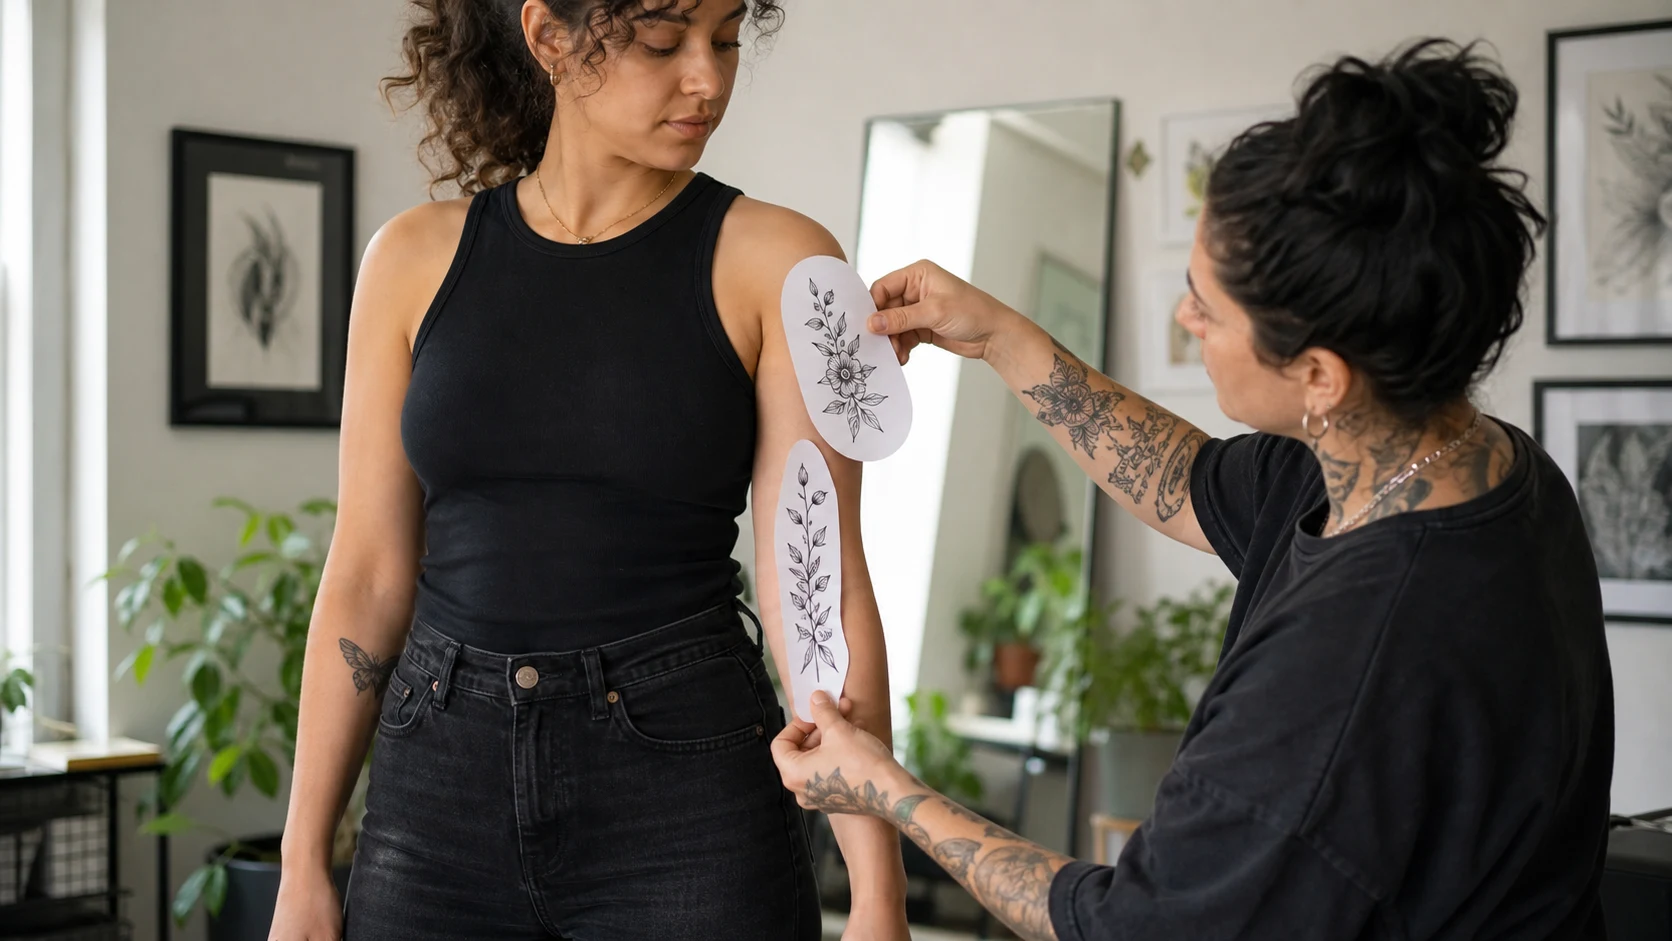
Start with the outside edge of the design. A tall dagger, stem, script line, or standing figure usually has an easier time on the forearm, calf, spine, or side of the thigh. A round peony, animal head, mask, or compact traditional piece can settle into the shoulder cap, outer upper arm, chest, or thigh. A wide scene needs a broad field such as the back, upper chest, or front of the thigh.
Tattoo artists often call this flow. The word describes the relationship between the main lines of a piece and the visible directions already present in the body. The Painful Pleasures placement guide puts anatomy, movement, size, visibility, and long-term wear in the same planning process. That combination is useful because a body area is never a flat rectangle.
Look at the artwork as a solid black shape. If its outline feels cramped before the internal detail appears, the placement needs more room or a different orientation. Rotating a design a few degrees can also help. The artist will usually align the strongest line with the arm, leg, collarbone, rib, or shoulder rather than with the edge of a phone photo.
Let the smallest detail set the tattoo size
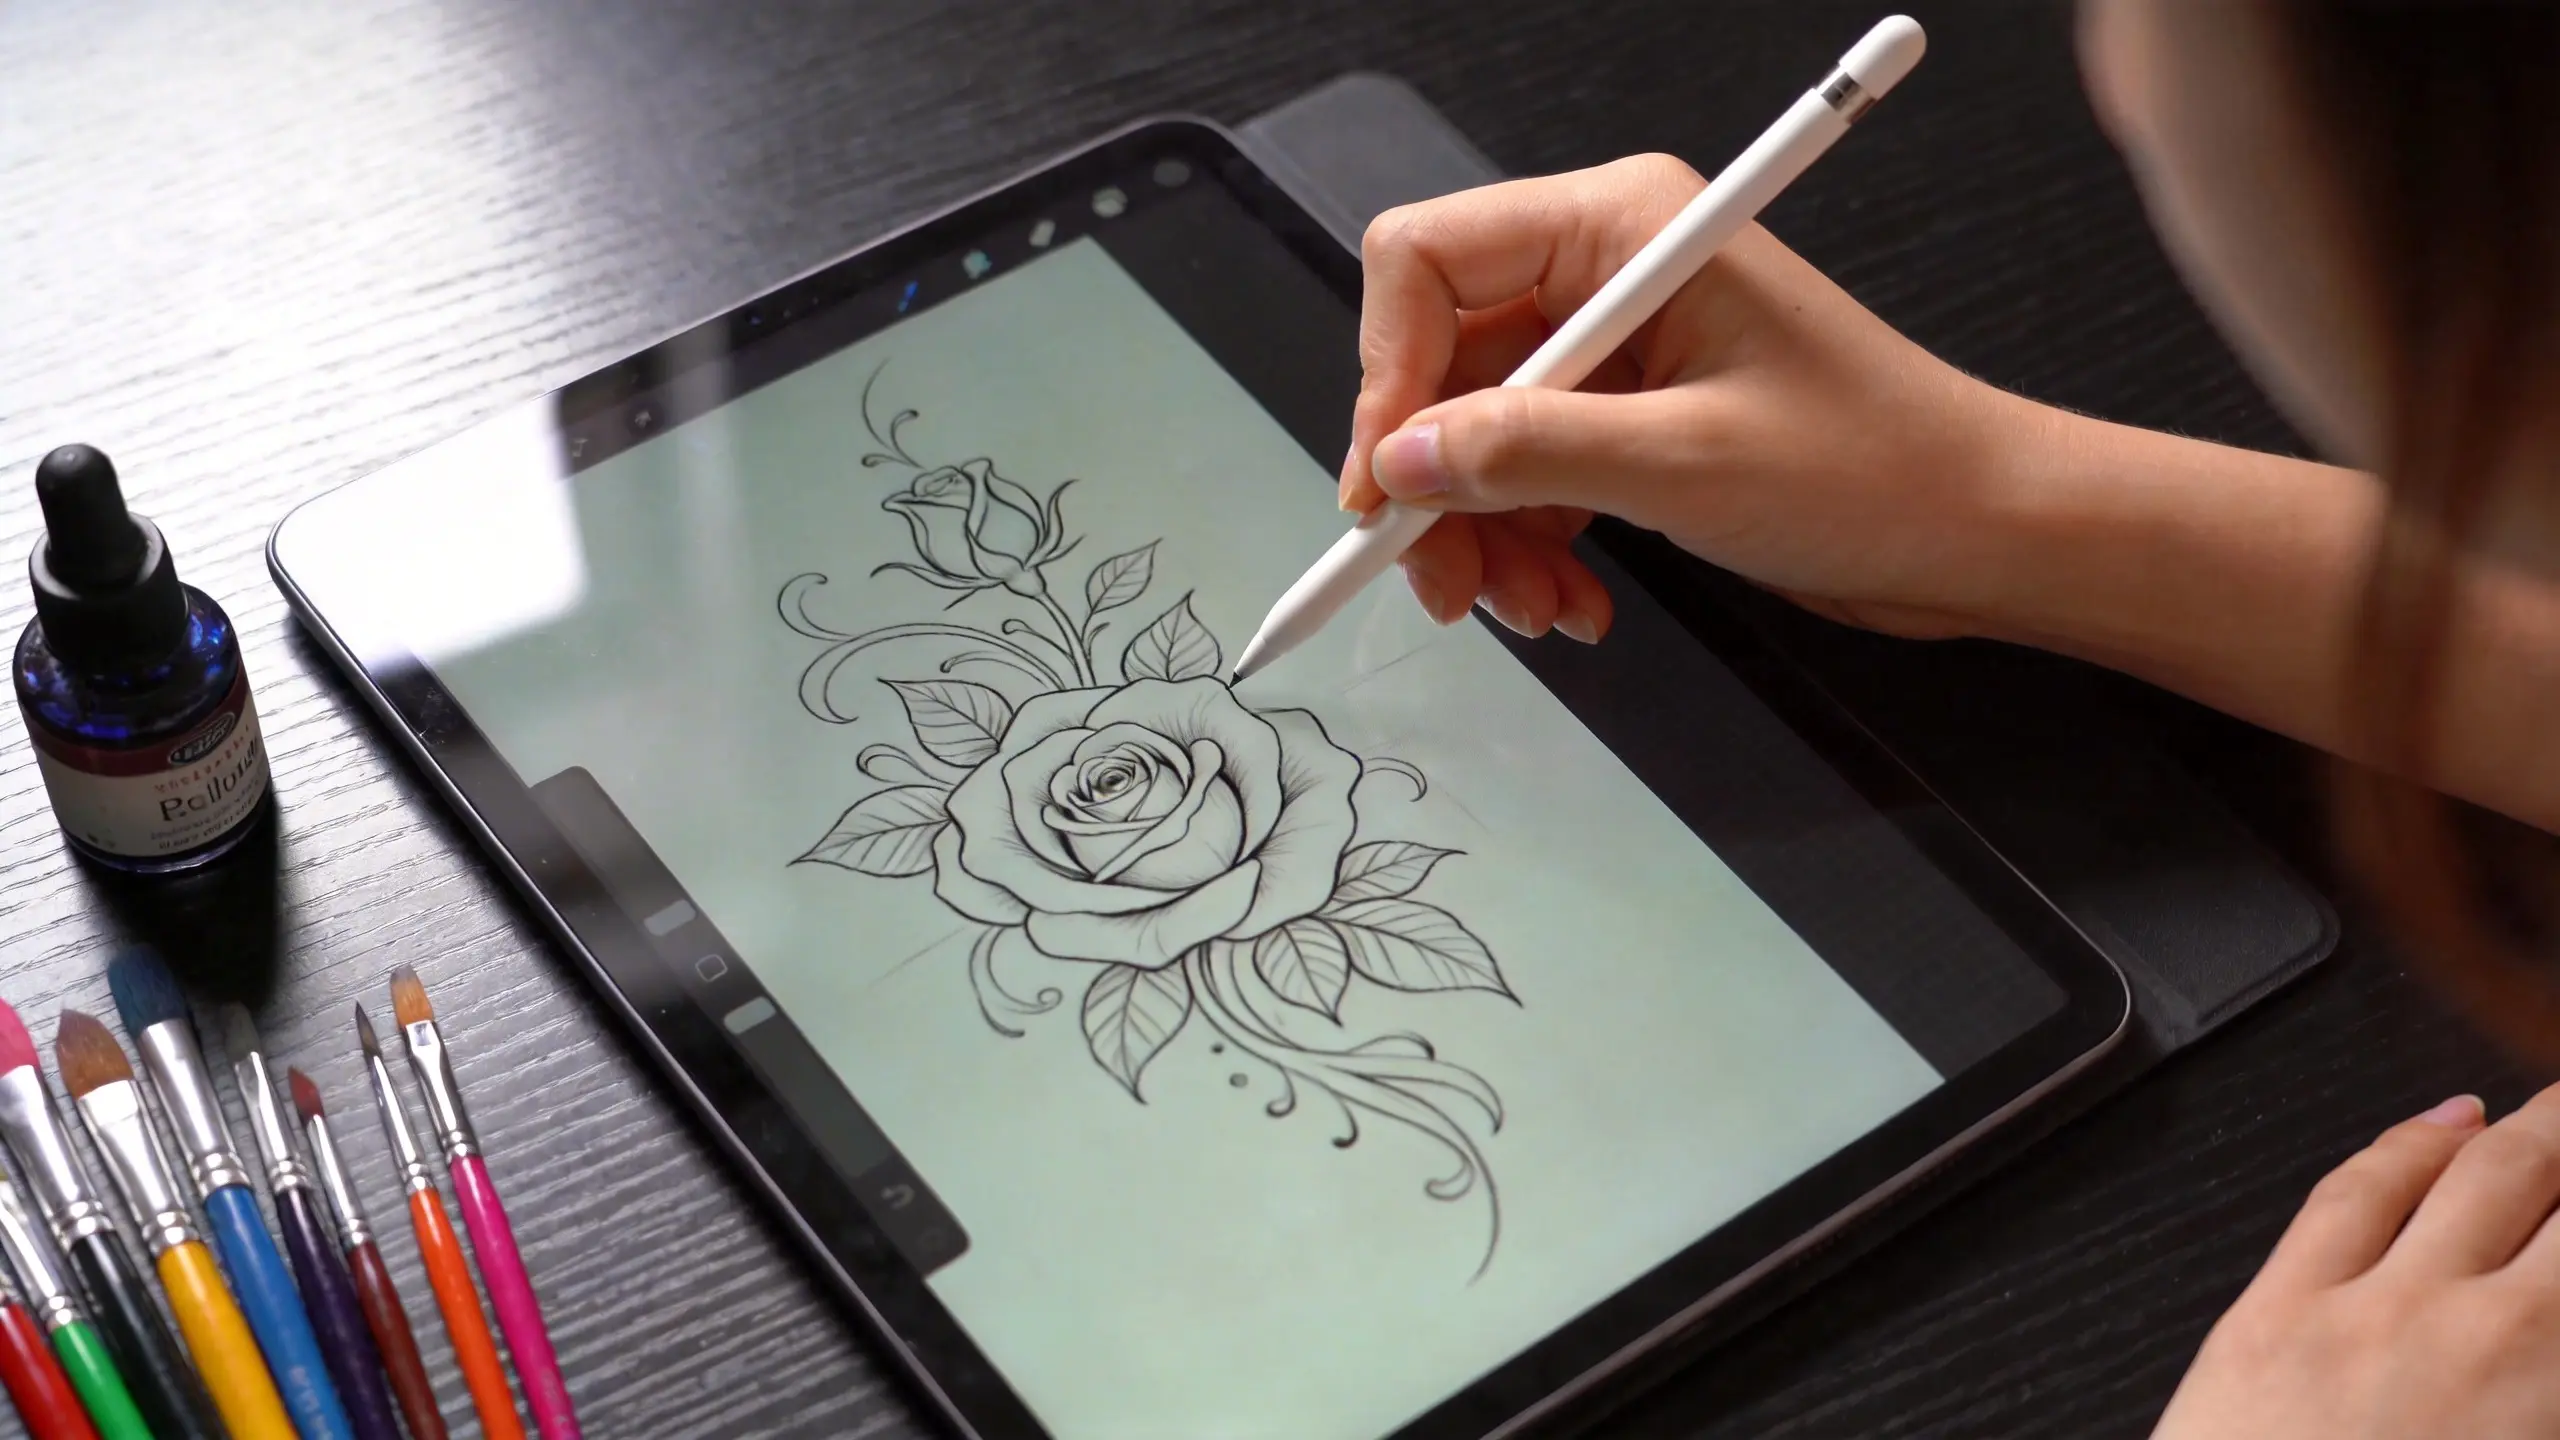
Screen size is slippery. A design that fills a tablet may print at five centimeters. At that point a bird's eye, two fingers, or the open counter in a letter can become smaller than the line weight the artist plans to use.
Set the size in centimeters or inches. Print two or three versions at 100 percent, cut around the outer shape, and tape them gently over clothing or hold them against the skin. Step back to normal conversation distance. The medium version often reads better than the tiny one even when both look crisp up close.
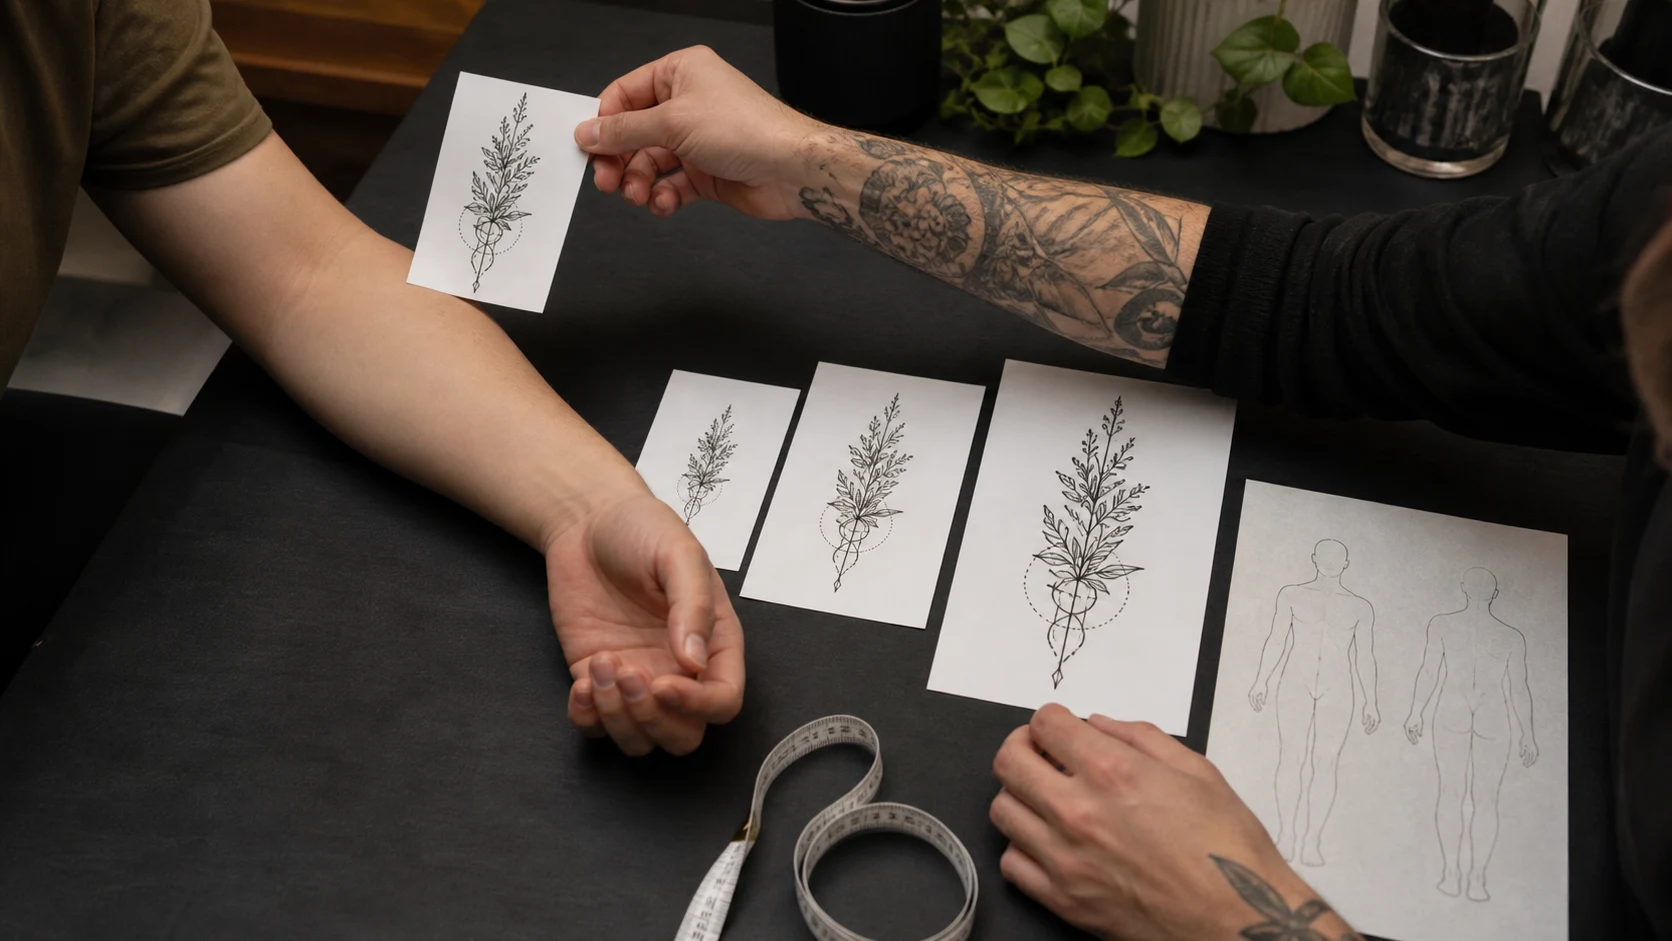
There is no honest universal minimum size. A simple black star and a detailed wolf portrait ask for different amounts of skin. A fine-line artist and a bold traditional artist also build with different line weights. Ask your artist to point to the narrowest gap in the drawing and explain how much space it needs after healing. Their healed work at a similar size is the useful evidence.
For designs with delicate lines, the fine line tattoo guide explains how spacing and contrast change as the piece settles.
Check the design while the body is resting
People tend to twist toward a mirror when they test placement at home. The forearm rolls outward, one shoulder lifts, and a rib placement stretches. The design may look centered in that pose and drift when the body relaxes.
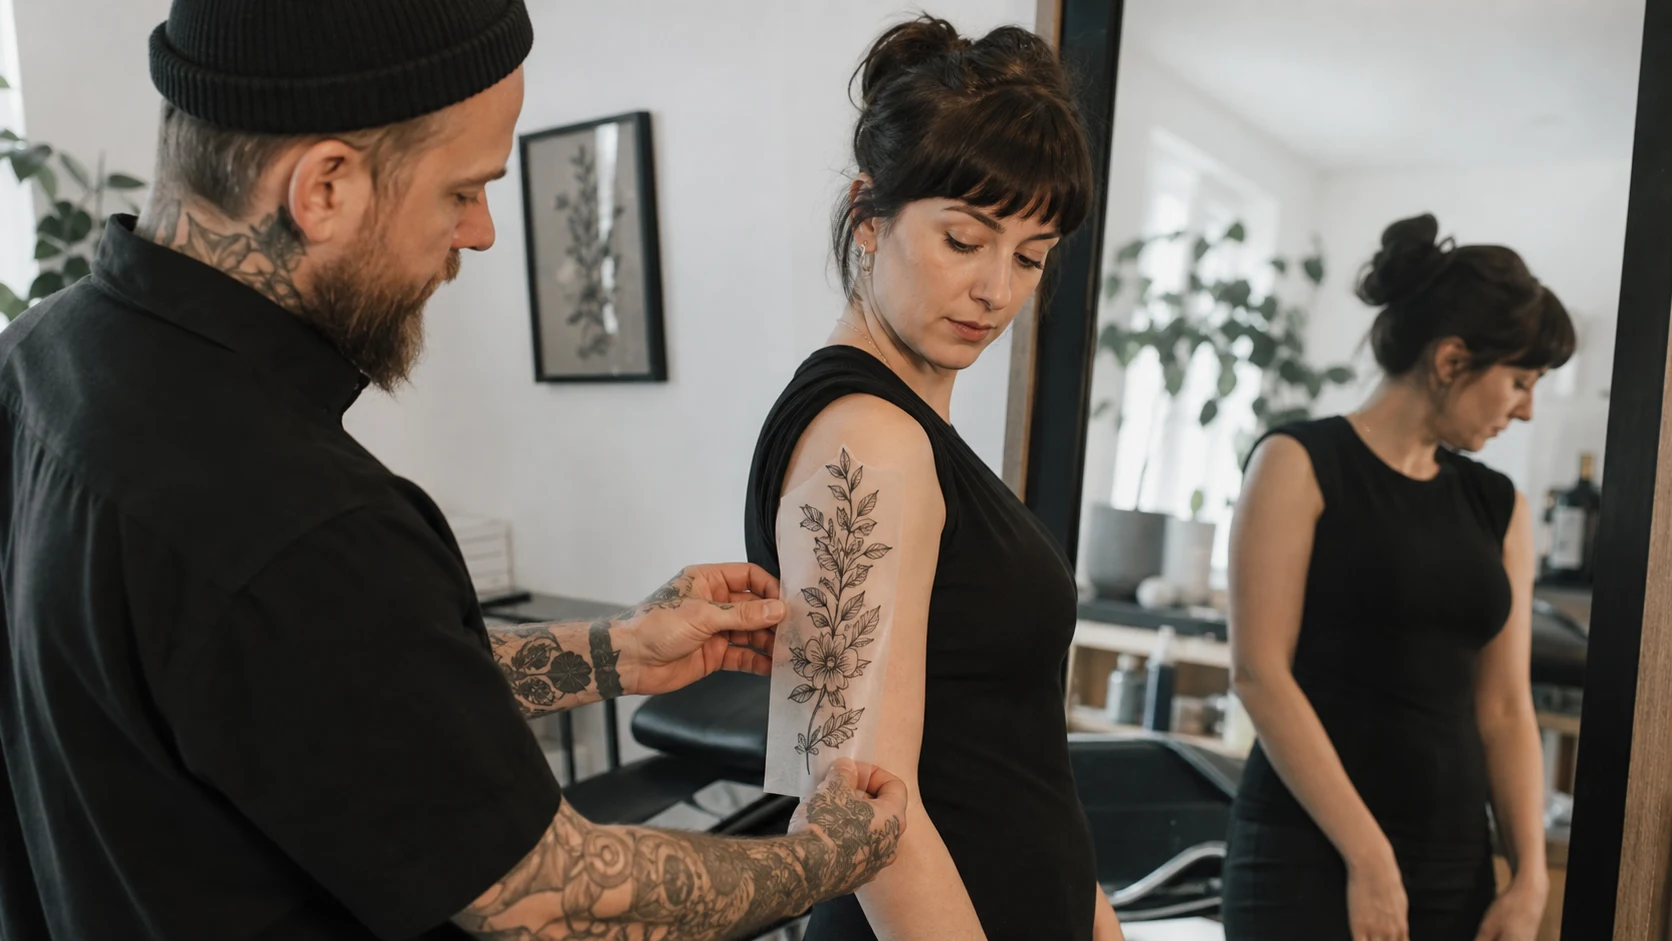
Stand normally with both feet carrying weight. Let the shoulders fall and keep the hand loose. The artist can mark a center line or top point before applying the stencil. For the back, shoulder, chest, and ribs, a straight reference photo of the relaxed body is more useful than a close selfie taken at an angle.
Orientation also deserves a plain decision. The usual starting point for a figure or lettering on the forearm is an upright read when the arm hangs naturally and another person faces it. A self-facing piece can be a deliberate personal choice. Ask the artist to show both positions with the arm relaxed before settling the direction.
Move the joint before approving the stencil
A stencil looks stable for a few seconds. Daily movement gives a better test. Bend and straighten the elbow. Turn the palm up and down. Raise the shoulder. Sit, stand, and take a full breath for rib or stomach work. Some distortion is normal. The useful check is whether the piece reads cleanly in the chosen neutral pose and whether a face, lettering, or another critical detail lands directly on the main fold.
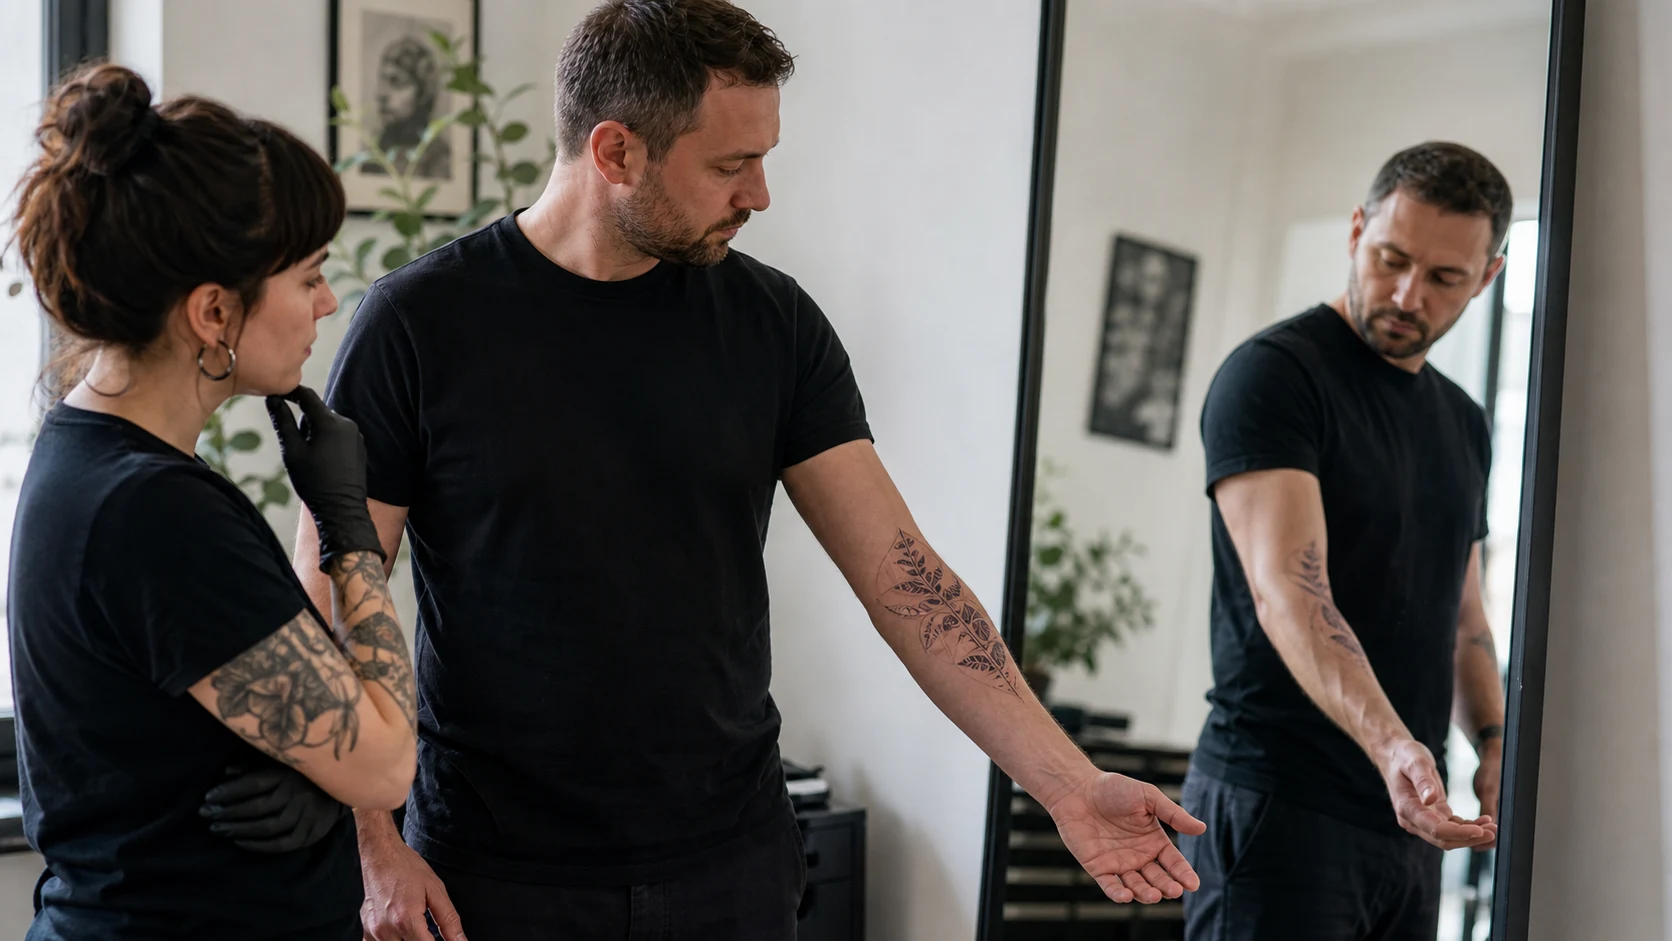
Small shifts can rescue a design. Moving a face away from the elbow crease keeps the features from folding. Sliding a long stem toward the outer forearm gives it a cleaner view when the hand rests. Raising a thigh piece may keep the top edge from landing exactly where shorts rub.
Flag a major size choice before the appointment so the studio can prepare. Once the final stencil is on, view it in the mirror with the body relaxed. Ask for repositioning before approval if the axis or wrap feels wrong; each studio handles same-day resizing in its own way.
Tattoo placement by body area
The table below is a starting point for design fit. Pain varies by person and by the exact spot within each area.
| Body area | Shapes that often fit | Placement notes |
|---|---|---|
| Outer forearm | Tall motifs, script, small illustrative pieces | Easy to see and photograph; rotation changes what faces forward |
| Inner forearm | Narrow designs, lettering, intimate pieces | More hidden at rest; soft inner skin may feel more sensitive |
| Outer upper arm | Round, oval, and medium vertical pieces | Useful shoulder-to-elbow field; can grow into a half sleeve |
| Shoulder cap | Circular motifs and designs with curved movement | The image wraps quickly, so the front and back edges need checking |
| Thigh | Portraits, wide scenes, larger detailed work | Broad working area; shorts and seated posture affect visibility |
| Calf and shin | Tall illustrations, ornamental work, bold blackwork | Calf curves around the side; shin gives a flatter frontal view |
| Ribs and side | Long organic shapes, script, large flowing work | Breathing and torso twist change the surface; often a demanding session |
| Chest and sternum | Symmetrical or winged compositions, central ornaments | Center lines matter; necklines determine everyday visibility |
| Back | Large scenes, paired compositions, long-term projects | Plenty of area, but future expansion needs a plan from the start |
| Hands, fingers, and feet | Small bold symbols with open spacing | High exposure and friction; ask for healed examples from the artist |
Save clean space for future tattoos
A palm-sized piece in the middle of the upper arm can block the strongest part of a future sleeve. The tattoo may be excellent on its own and still make the next composition harder. Tattooing 101's placement guidance likewise recommends considering future sleeve planning and the amount of skin available for the design. Tell the artist if a sleeve, back piece, patchwork collection, or symmetrical pair is even a loose possibility.
The answer does not always involve moving the first tattoo. The artist might angle it toward the flow of a future sleeve, leave a usable gap near the elbow, or choose a finished border that another piece can approach later. For patchwork, uneven pockets of skin are normal. They become easier to fill when the anchor pieces have clear edges and varied scale.
Put visibility and wear in the same conversation
Try the placement with the clothes you actually wear. Check a short sleeve, work shirt, dress strap, socks, and watch band. A design sitting two centimeters higher can change whether it appears at work. Photos taken in those clothes make a consultation faster.
Hands and fingers meet washing, tools, pockets, and sun every day. Feet meet socks and shoes. Shoulders and forearms often receive more ultraviolet exposure than the torso. These conditions do not guarantee a poor tattoo; they do change the maintenance conversation and sometimes the design. Open spacing and confident contrast give high-contact areas more margin.
Once the tattoo has healed, protect exposed work from the sun. The American Academy of Dermatology recommends broad-spectrum, water-resistant sunscreen with SPF 30 or higher on tattooed skin outdoors.
Compare two placements before the consultation
Pick two credible options instead of moving the image across every available body part. Keep the design at the same real-world size. Compare the height, angle, amount of wrap, visibility in clothing, and room around nearby tattoos.
The tattoo try-on can make that first comparison from a body photo. Treat the result as a placement sketch. Camera perspective and a flat overlay cannot reproduce skin stretch or a stencil wrapped around the limb.
Bring the artist a short placement brief:
- body area and side, written precisely: “left outer forearm,” not “arm”
- approximate size in centimeters or inches
- one relaxed, straight body photo and one photo in normal clothing
- the feature that should face forward
- existing tattoos and any future sleeve or larger project
- two placement mockups at the same scale
At the appointment, relax the body, check the true-size stencil through a few normal movements, and take one full look in the mirror before approving the placement.
Frequently asked
What is a good placement for a first tattoo?
The outer forearm, outer upper arm, thigh, and calf are straightforward areas for many first pieces because the artist can see and stencil them clearly. The best choice still depends on the design shape, the size it needs, your clothing, and your tolerance for visibility and pain.
How do I choose the right tattoo size?
Ask the artist for the smallest size that keeps every important gap open after healing. Print the design at that exact size and view it on the body from normal conversation distance before approving it.
Does tattoo placement affect how a tattoo ages?
Yes. Sun exposure, friction, frequent hand washing, joint movement, line spacing, and aftercare all affect how a tattoo settles. Placement is one factor among the artist's technique, the design, your skin, and long-term care.
Can a virtual tattoo try-on replace the studio stencil?
No. A virtual try-on is useful for comparing general size, height, and visibility. The artist still needs to place and adjust the final stencil on your body in a neutral posture.
Turn this guide into a tattoo draft
Keep the motif from this article, then test style, placement, and line weight before you talk with an artist.