Tattoo Design Brief for Artists: A Client Consultation Checklist
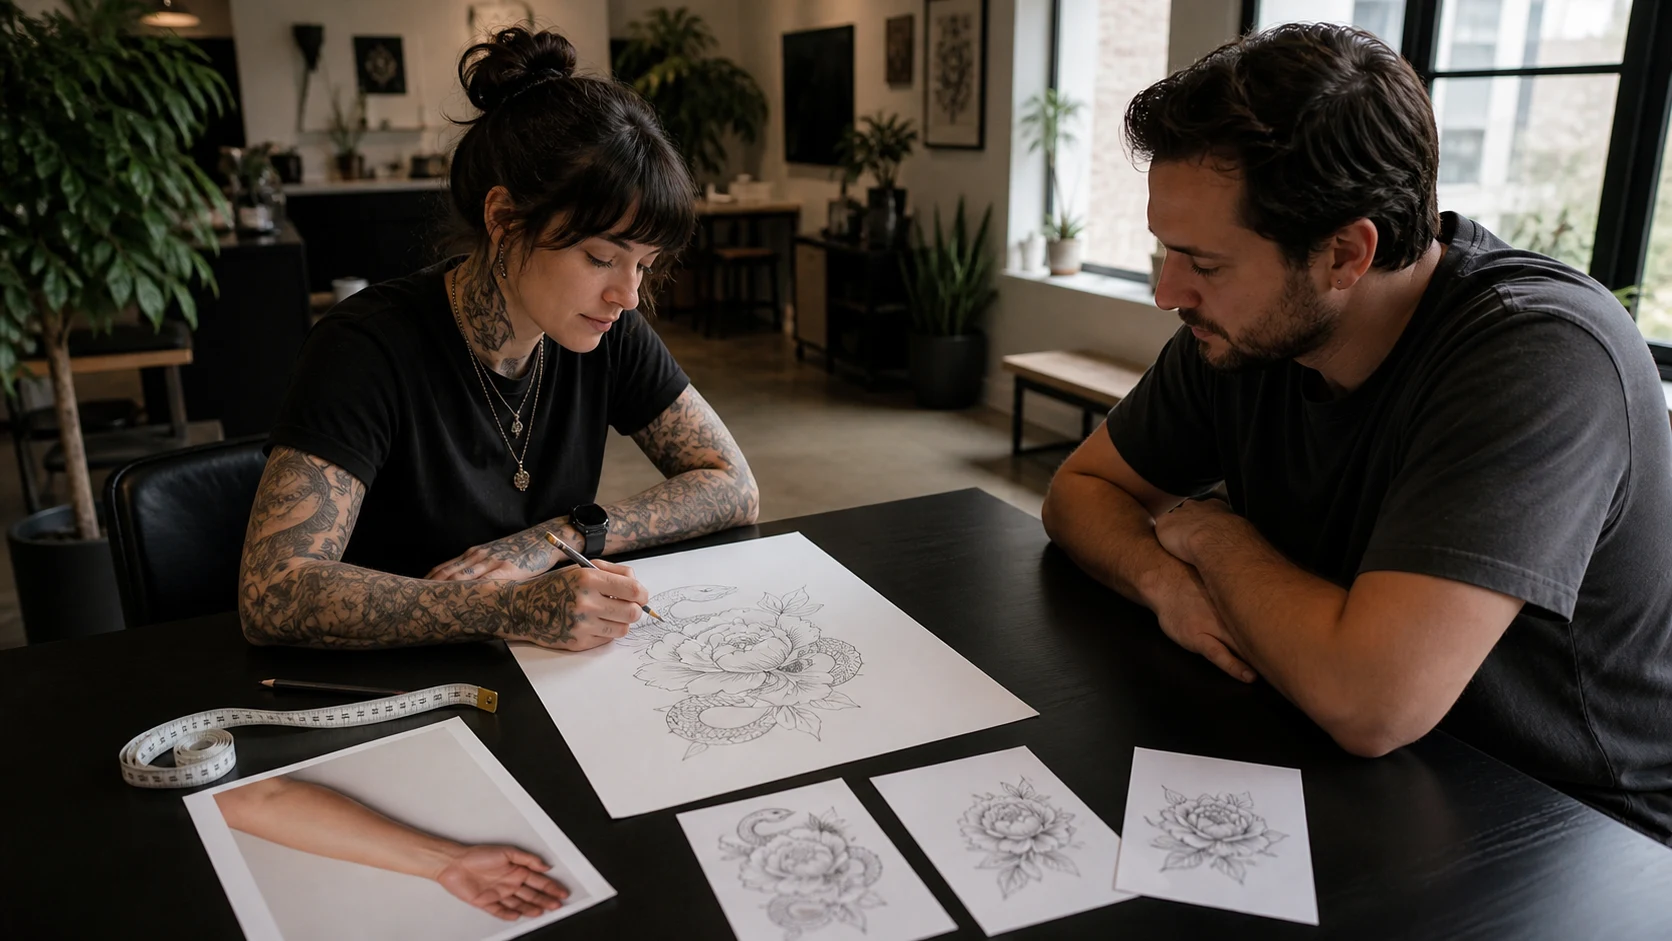
The client says, “dark, elegant snake.” Their saved images tell three different stories. One is a dense blackwork sleeve, one is a delicate botanical drawing, and one is a glossy generated image with a snake that has no workable spine. The intended spot is “somewhere on the forearm.” No measurement has been taken.
That is enough for a conversation. It is not enough for a first drawing.
A useful tattoo design brief for artists turns taste into decisions that can be drawn, compared, and approved. It records what the client wants to recognise, how the piece should occupy the body, and where the artist has room to solve the composition.
A tattoo design brief for artists starts with usable decisions
Public booking forms tend to ask for the same small group of details. A recent review of 30 artist and studio enquiry forms found that design description appeared on every usable form; placement, size, and reference images were also recurring fields. In an r/TattooArtists discussion about consultations, working artists described short meetings built around subject, placement, size, budget, and a rough mock-up.
Those fields are useful because each one changes the drawing. “Outer forearm, 18 cm, narrow vertical silhouette” already rules out half the shapes that might look attractive on a square screen. “Head near the elbow, open skin near the wrist” gives the piece a direction. “Two peonies only” establishes hierarchy.
Start the brief with the following facts:
- subject and supporting elements;
- exact body area and side;
- approximate height and width in centimetres or inches;
- orientation when the client is standing naturally;
- colour or black-and-grey direction;
- the two or three details that must remain;
- elements, symbols, lettering, and treatments to exclude.
Keep medical history, consent, identification, and studio policy in the studio’s established intake system. This brief is for design decisions.
References need a note beside them
Five unlabelled screenshots can create more ambiguity than one. The artist has to guess whether the client likes the subject, line weight, palette, amount of black, or the way the image sits on an arm.
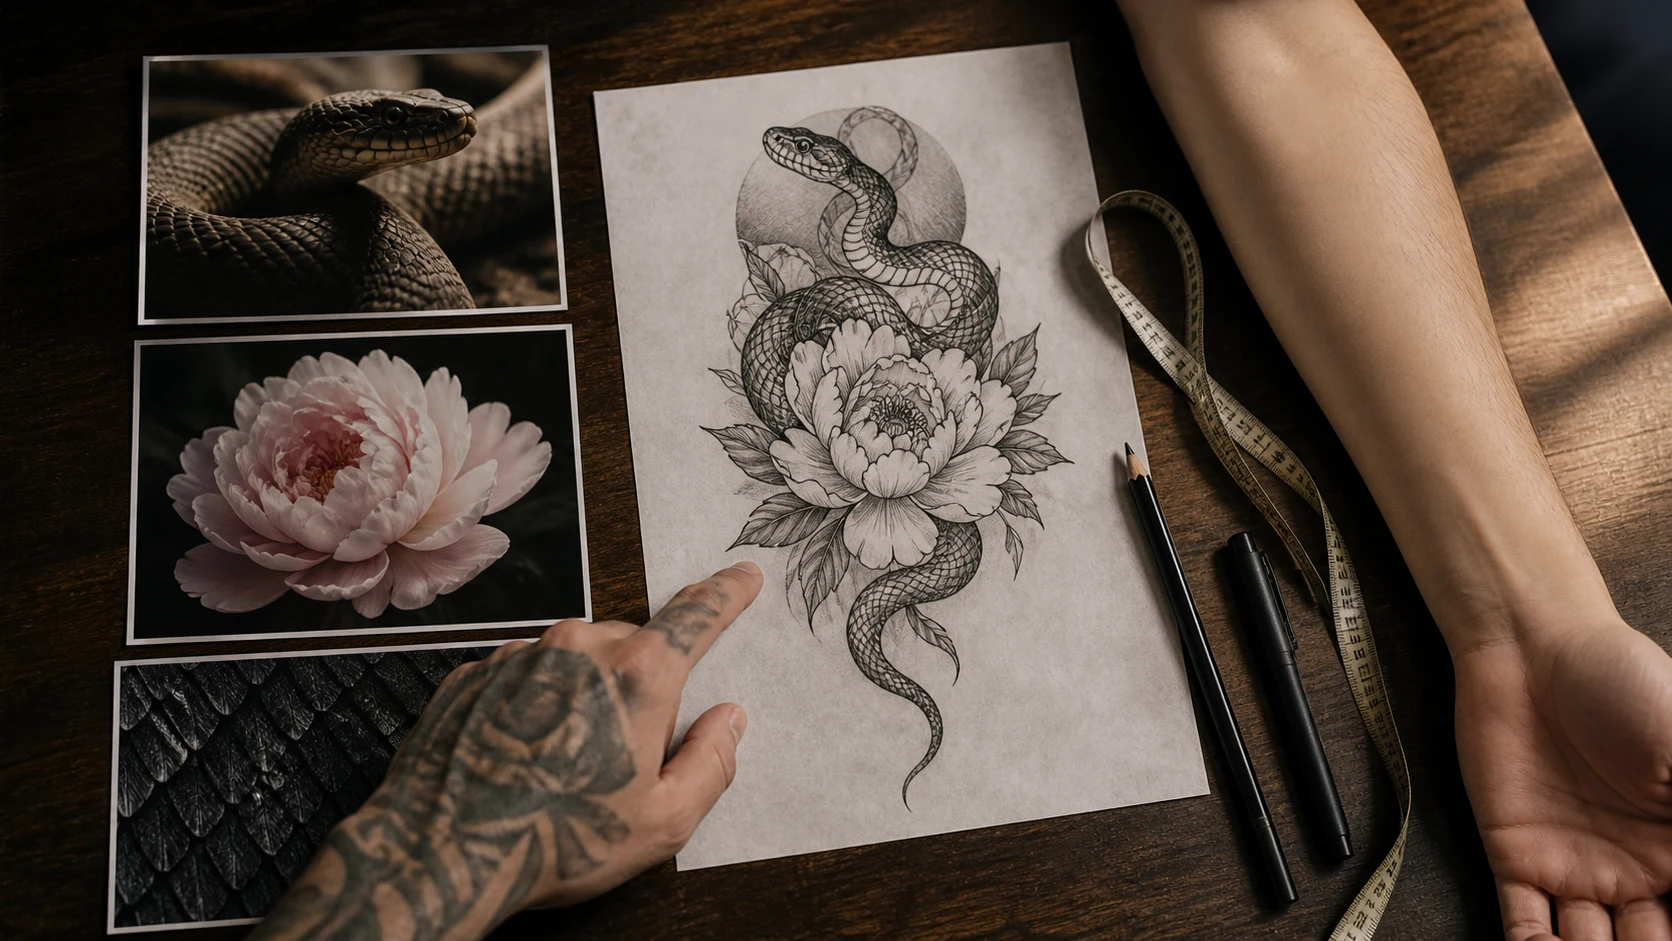
Ask for a small set, then add a sentence to each image:
- “I like the long S-curve and the visible head.”
- “The open petals feel right; the shading is too soft for me.”
- “Use this photograph for the species and markings.”
- “This healed piece shows the amount of black I am comfortable with.”
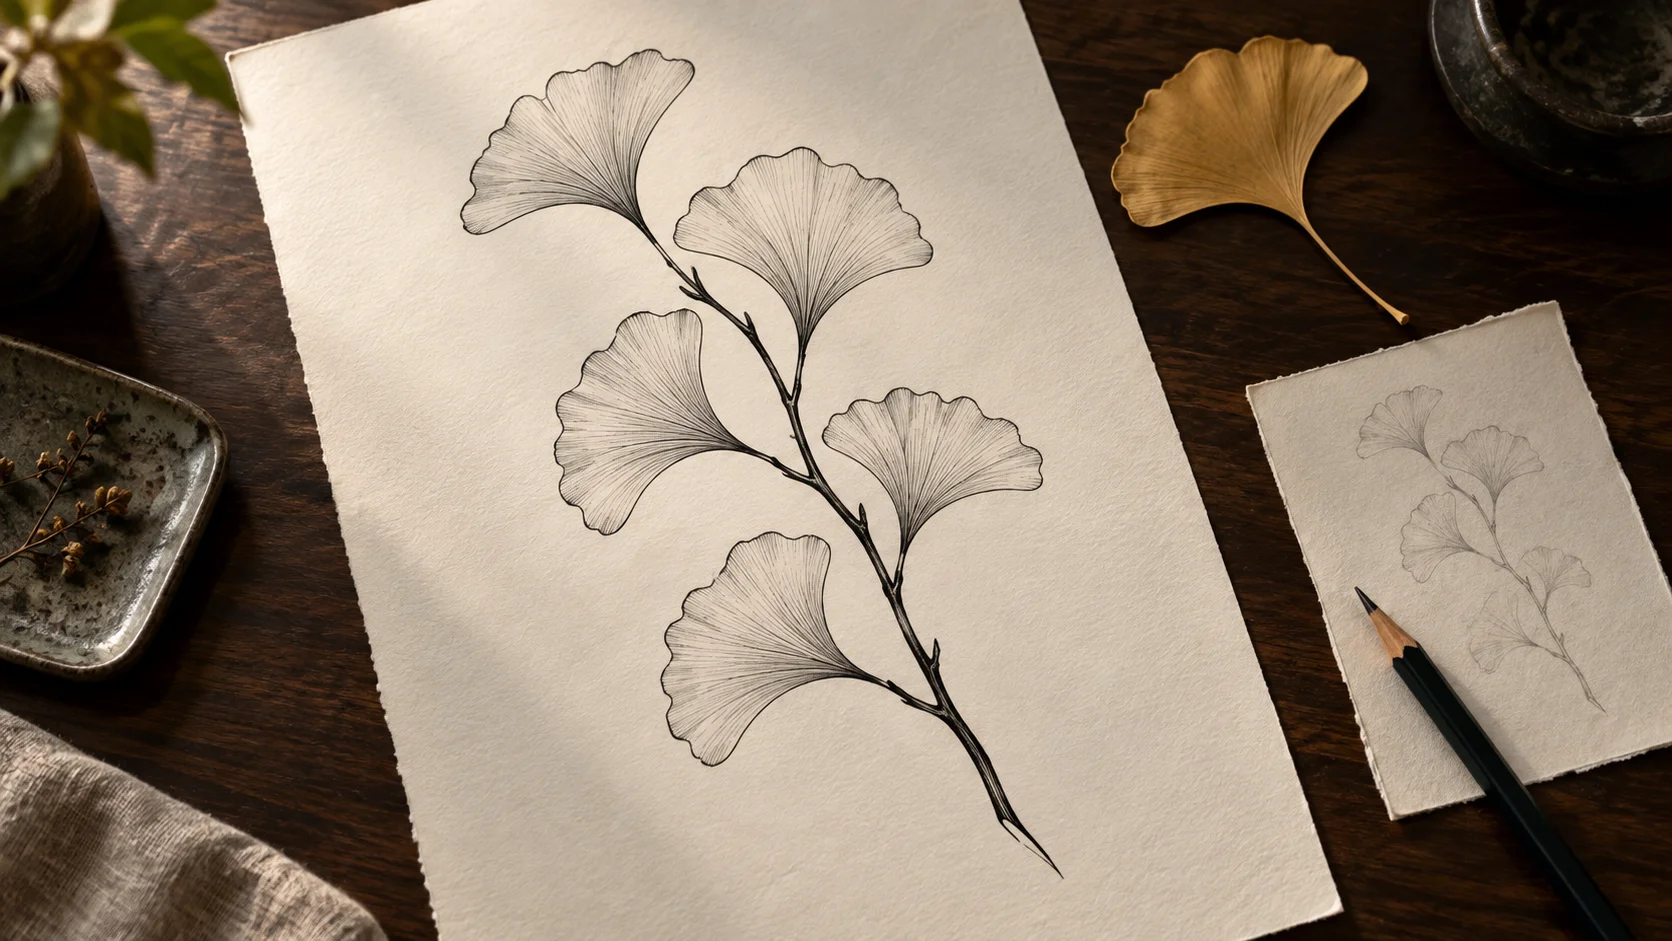
References should explain a preference, never issue an instruction to copy another tattooer’s finished work. Source photographs, museum objects, botanical plates, the client’s own sketch, fabric, architecture, and film stills can all carry useful information. When a reference includes a personal photograph or commissioned artwork, keep the original file and confirm permission for its use.
The same rule applies to generated images. Mark the fragment that matters: silhouette, overlap, contrast, or mood. Give the artist the image source and the original subject reference as well. A polished frame should not conceal uncertain anatomy or a borrowed composition.
Placement is a shape, not a body-part label
“Forearm” leaves several drawings possible. Inner and outer forearm have different sight lines. A design placed high near the elbow has a wider working area than one tapering toward the wrist. Existing tattoos, scars, wrist rotation, and the client’s normal posture all affect the usable shape.
Take a straight-on placement photograph with the limb relaxed. Add side views for curved or wrapping work. Mark the intended top, bottom, and centre axis. Record a physical measurement instead of “palm-sized”; hands vary, and a digital canvas has no reliable scale.
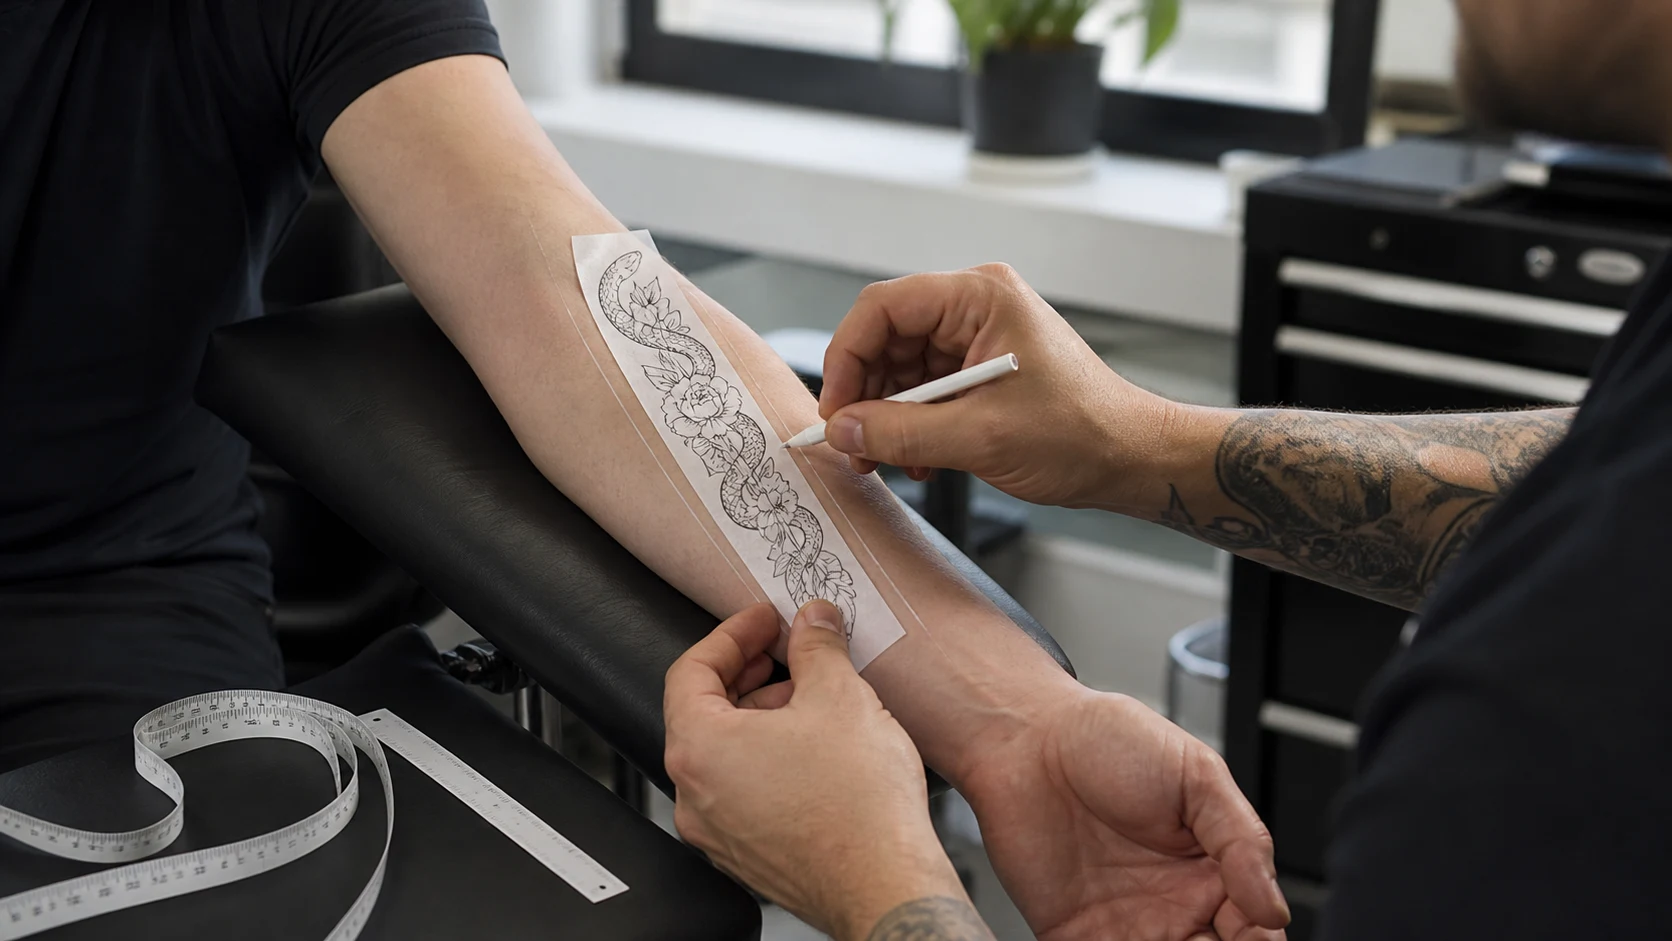
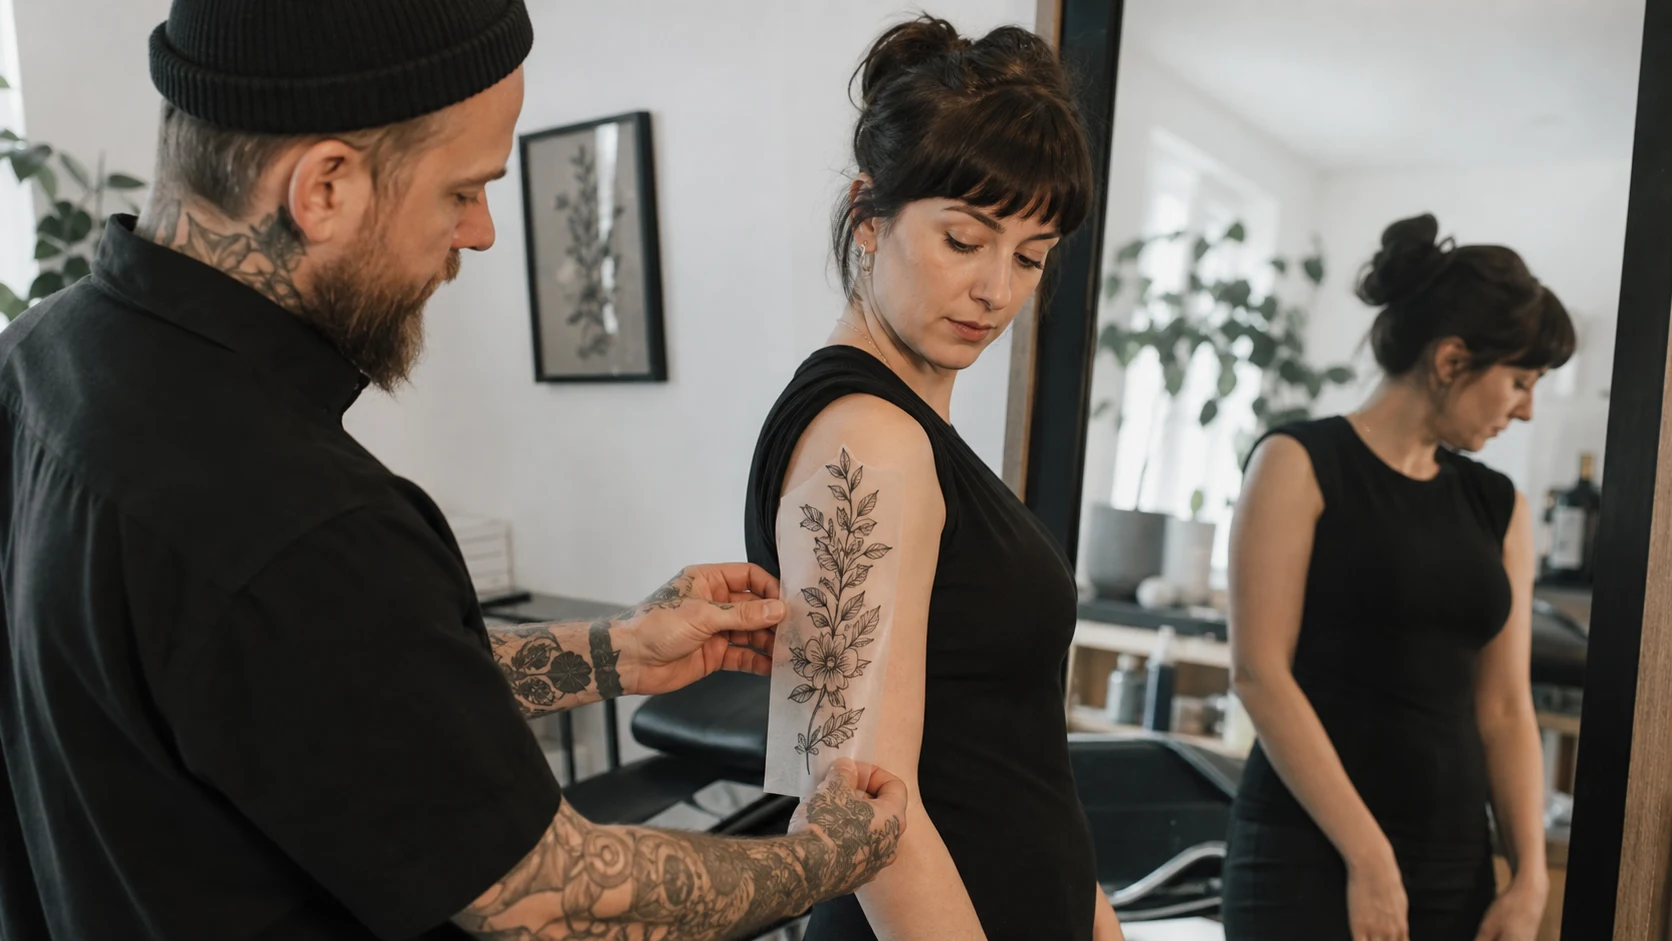
The first paper test can stay rough. Print the main silhouette at actual size and hold it on the body. Turn the wrist, bend the elbow, and let the arm hang. The check often settles width and orientation before hours are spent rendering detail. OpenInk’s tattoo try-on helps compare general position on a photograph; the final stencil still needs to be checked on the client. Our tattoo placement guide covers taper, movement, and future expansion in more depth.
Write one compact working brief
The brief should fit on one screen. A tattooer needs a stable working note, not a transcript of every message.
- Project: snake with two peonies
- Placement: right outer forearm, head toward elbow
- Size: about 18 × 7 cm
- Shape: narrow vertical S-curve, clear from normal viewing distance
- Must keep: visible snake head, two open flowers, one open channel through the centre
- Exclude: lettering, frame, extra leaves, jewellery, red accents
- Black: concentrated through the middle; lighter finish near wrist
- References: use image A for movement, B for petal openness, C for the snake species
- Artist’s room: redraw anatomy, scale the flowers, simplify detail, adjust the taper
This example gives the artist boundaries and authority at the same time. It also gives the client something concrete to correct before drawing begins.
Words such as “elegant,” “strong,” and “organic” can stay in the brief when they are tied to visible choices. “Elegant” may mean a narrow silhouette, fewer leaves, and long unbroken curves. “Strong” may mean a bold outer contour and one dominant black mass. Converting mood into form prevents each person from carrying a different picture of the same adjective.
Use generated images as small, named directions
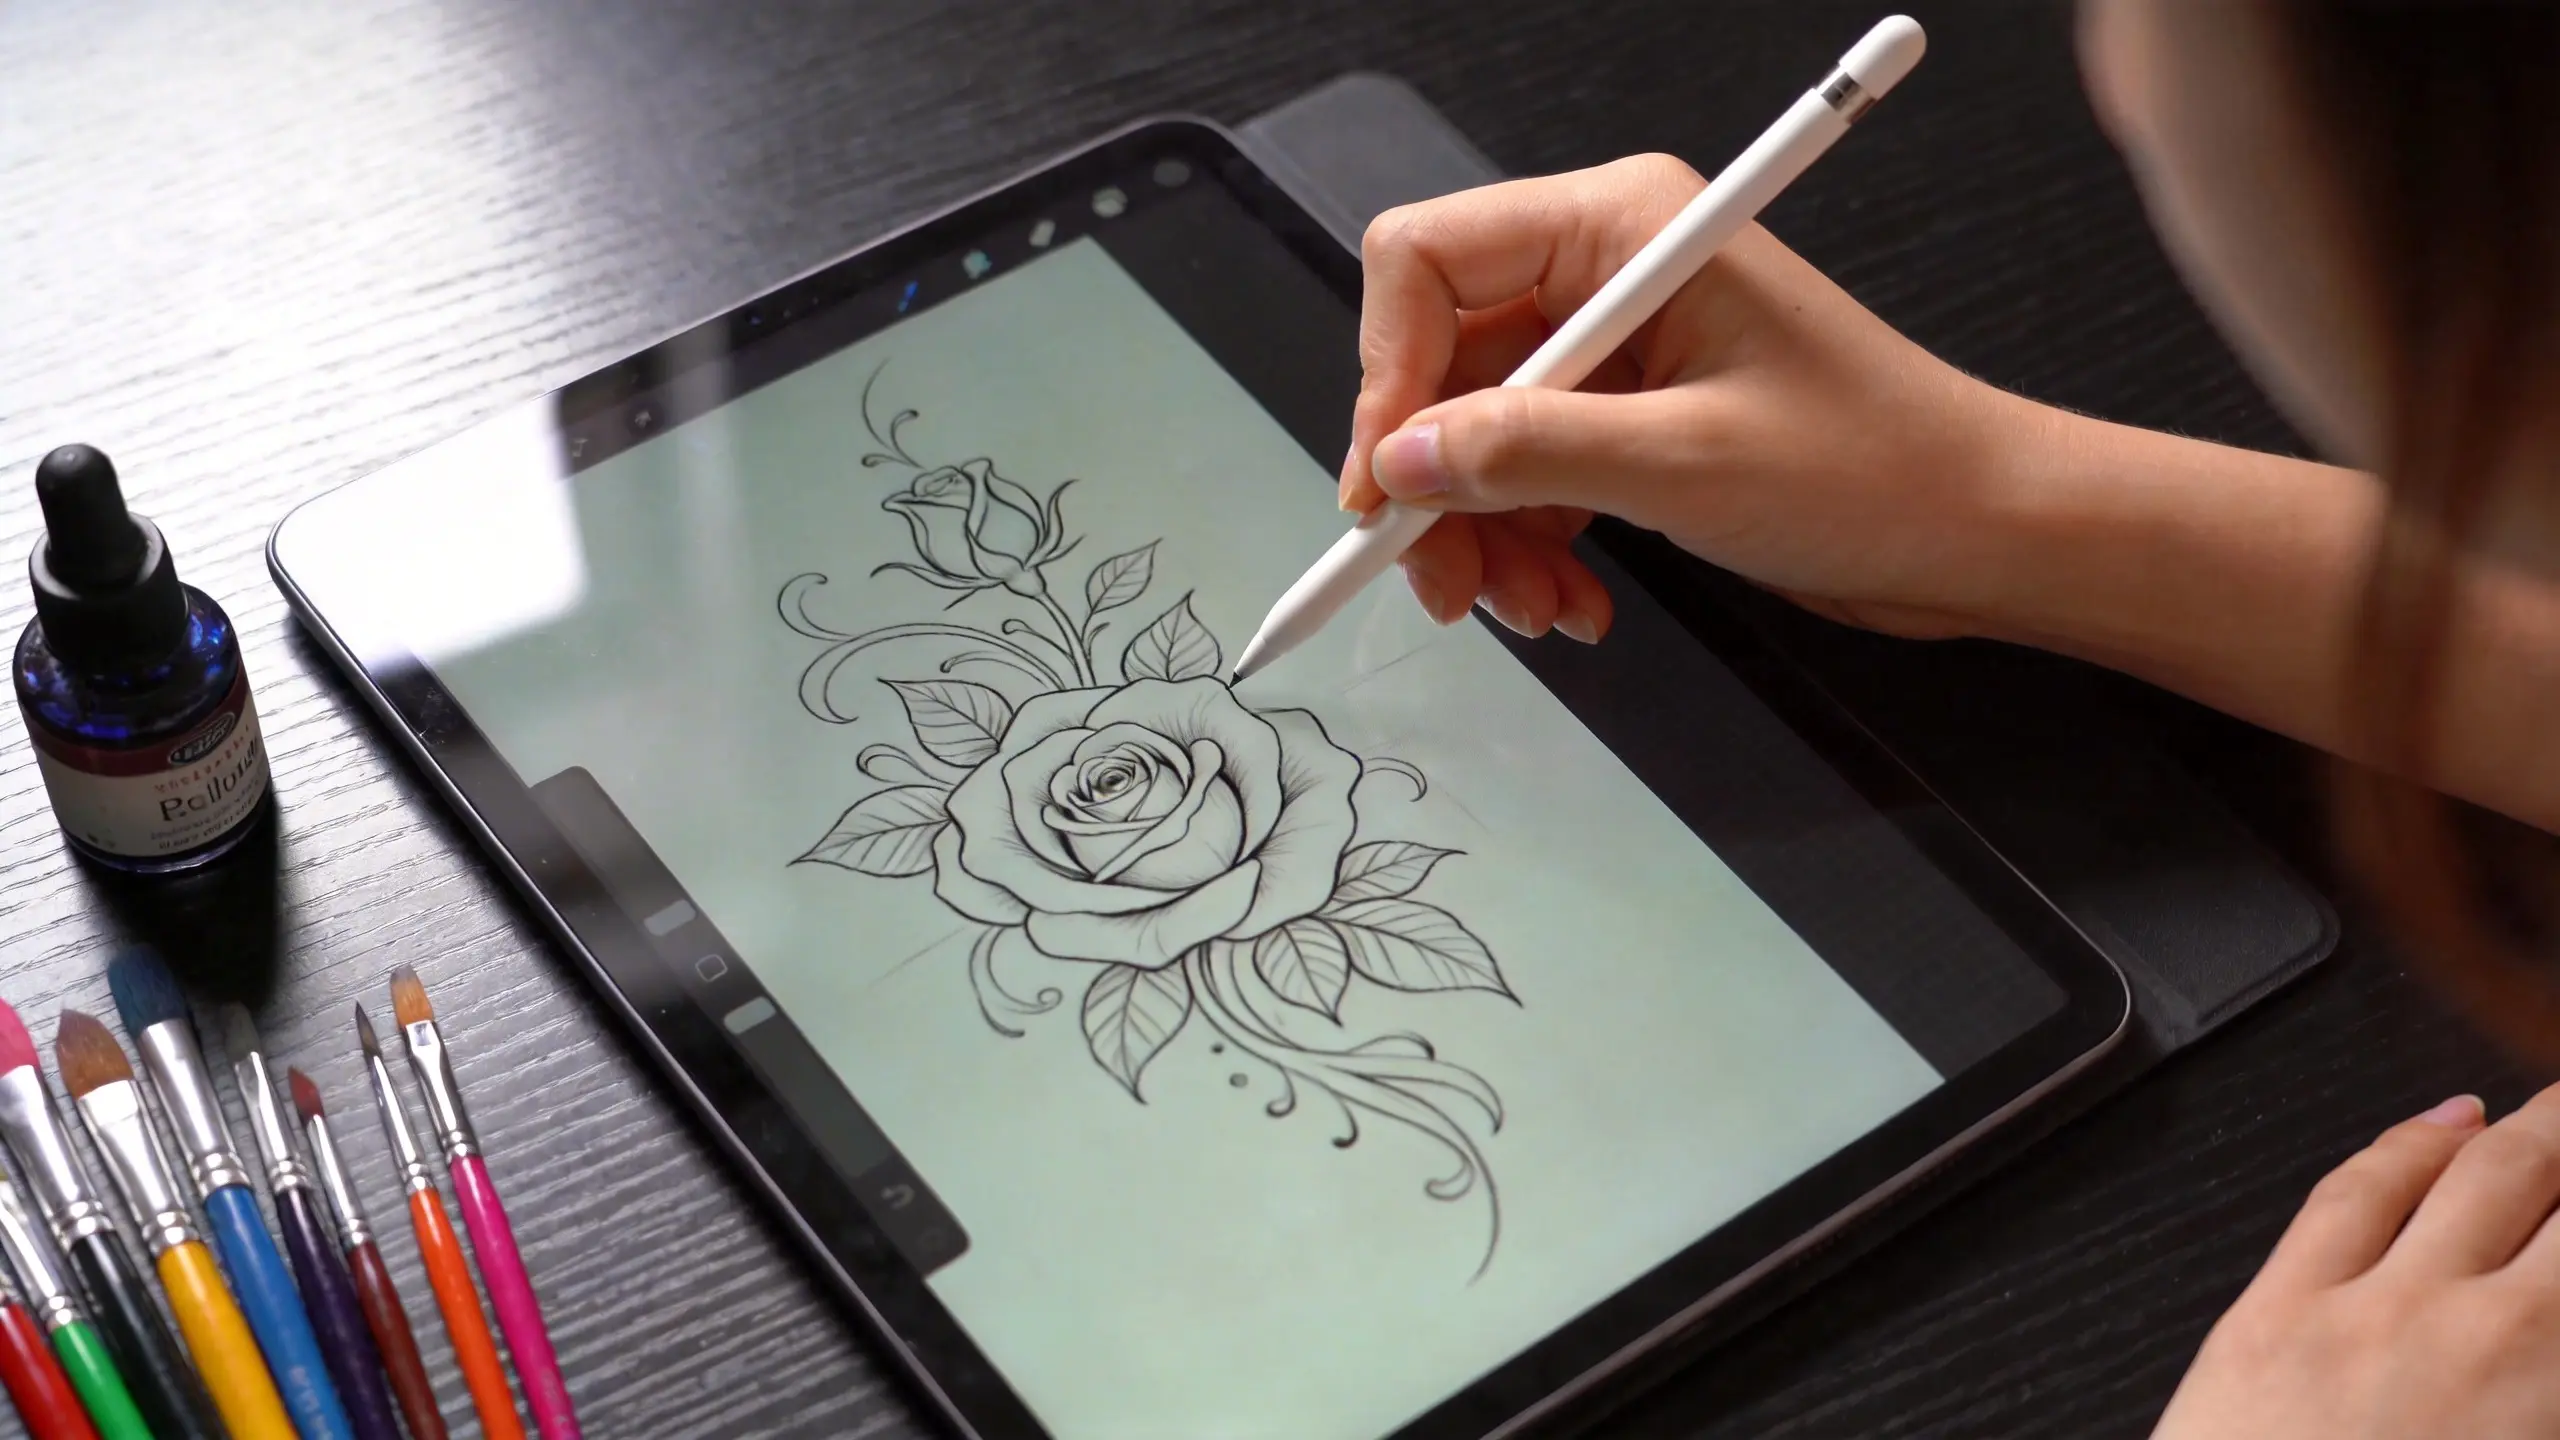
Once the brief is stable, OpenInk can help the artist make a few concept directions during pre-production. Use the AI tattoo generator for deliberate comparisons, with one variable changed per pass.
For the snake brief, the first set might compare body turns while keeping the size, subject, and style fixed. The next set can compare flower scale. A final value pass can test where the main black shape sits. Name each direction after its useful decision: “open wrist,” “large flower,” or “tighter coil.”
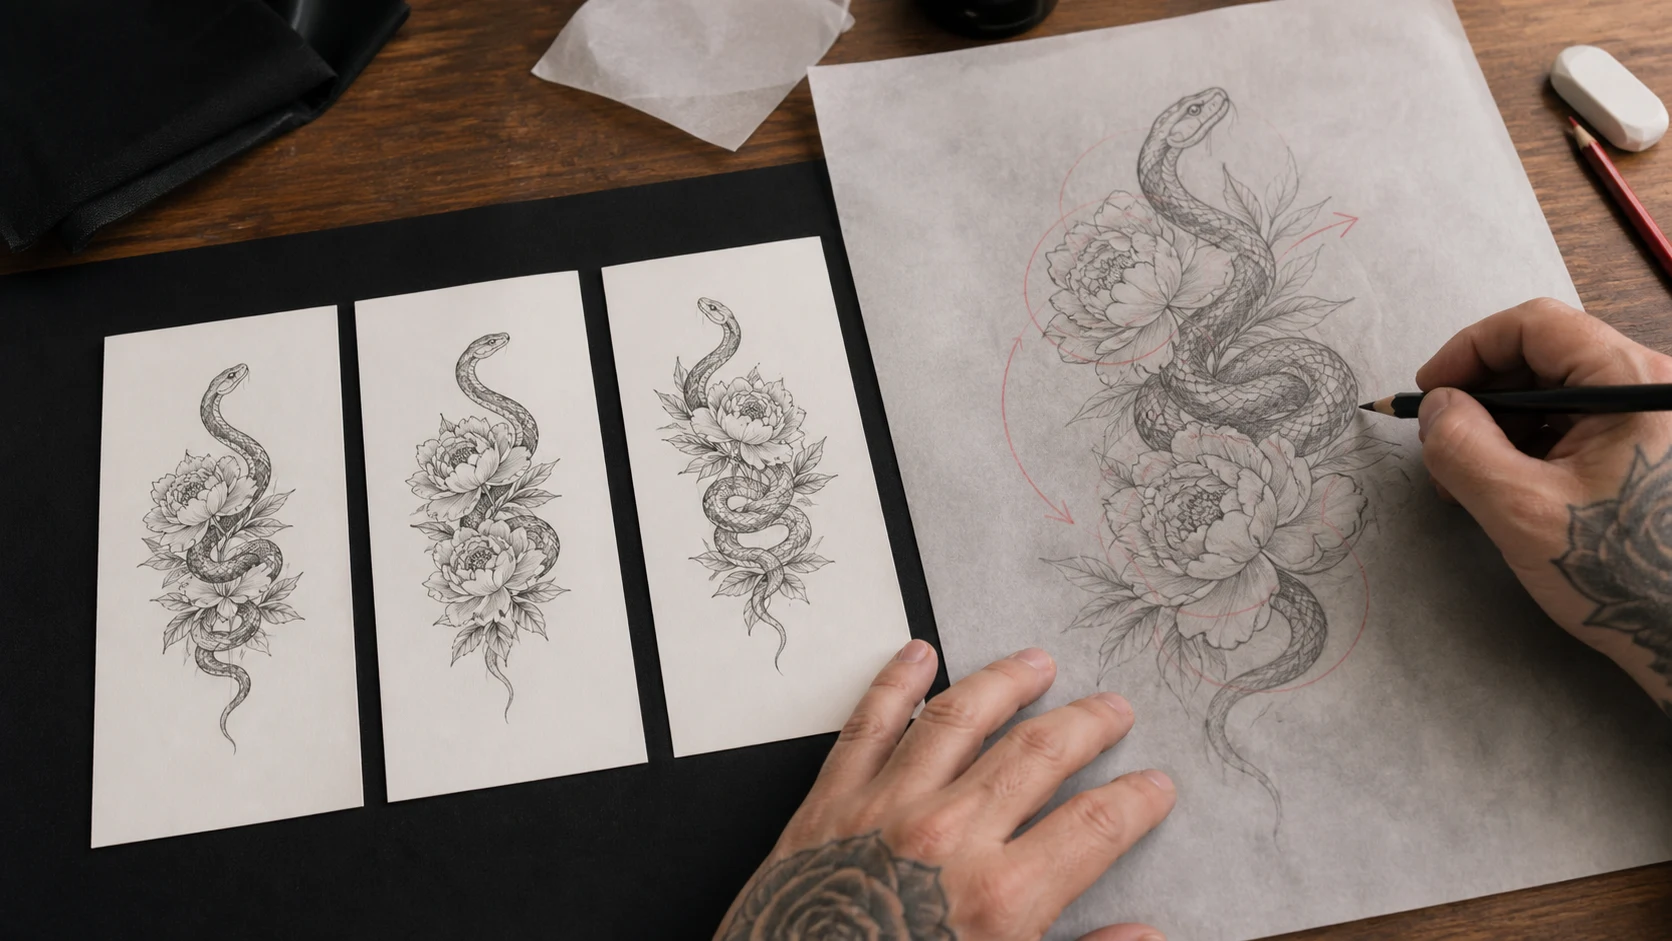
This creates a short decision trail. The client can approve the narrow silhouette from one direction and the open petals from another. The artist then combines those observations in a new drawing. The earlier guide to an AI tattoo generator for artists explains where generation belongs in an artist-led workflow and where hand drawing takes over.
Avoid sending a large gallery of nearly identical images. More frames introduce fresh accidents and give every decorative detail equal status. Three genuinely different directions are easier to discuss than thirty variations.
Freeze the direction before finishing the drawing
At the end of the consultation, read the brief back in plain language. Confirm subject, physical size, placement, orientation, essential features, exclusions, black-and-grey or colour, and the selected concept direction. Record any area where the artist will make the final call.
Then freeze the main decisions. Small refinements can continue; a new subject, placement, or style belongs to a new round of planning. This boundary protects drawing time and helps the client understand why a late change affects the appointment.
The handoff can remain simple: the approved brief, original references, a clean placement photograph, the chosen concept with useful regions marked, and the artist’s latest sketch. If a generated image was used materially, note that in the project record and discuss it with the client before approval.
From there, the artist redraws anatomy, spacing, line weight, and skin breaks. A selected image can be tested with the stencil maker, though its extracted lines are only cleanup material. The tattooer decides every contour that reaches the final stencil.
A good brief saves time because it makes disagreement visible while everything is still easy to move. By the time the artist begins the finished drawing, the client has already approved the decisions that matter most: what the tattoo is, where it lives, how large it is, and which parts make it theirs.
Turn this guide into a tattoo draft
Keep the motif from this article, then test style, placement, and line weight before you talk with an artist.