Photo to Tattoo: Keep the Part That Makes It Yours
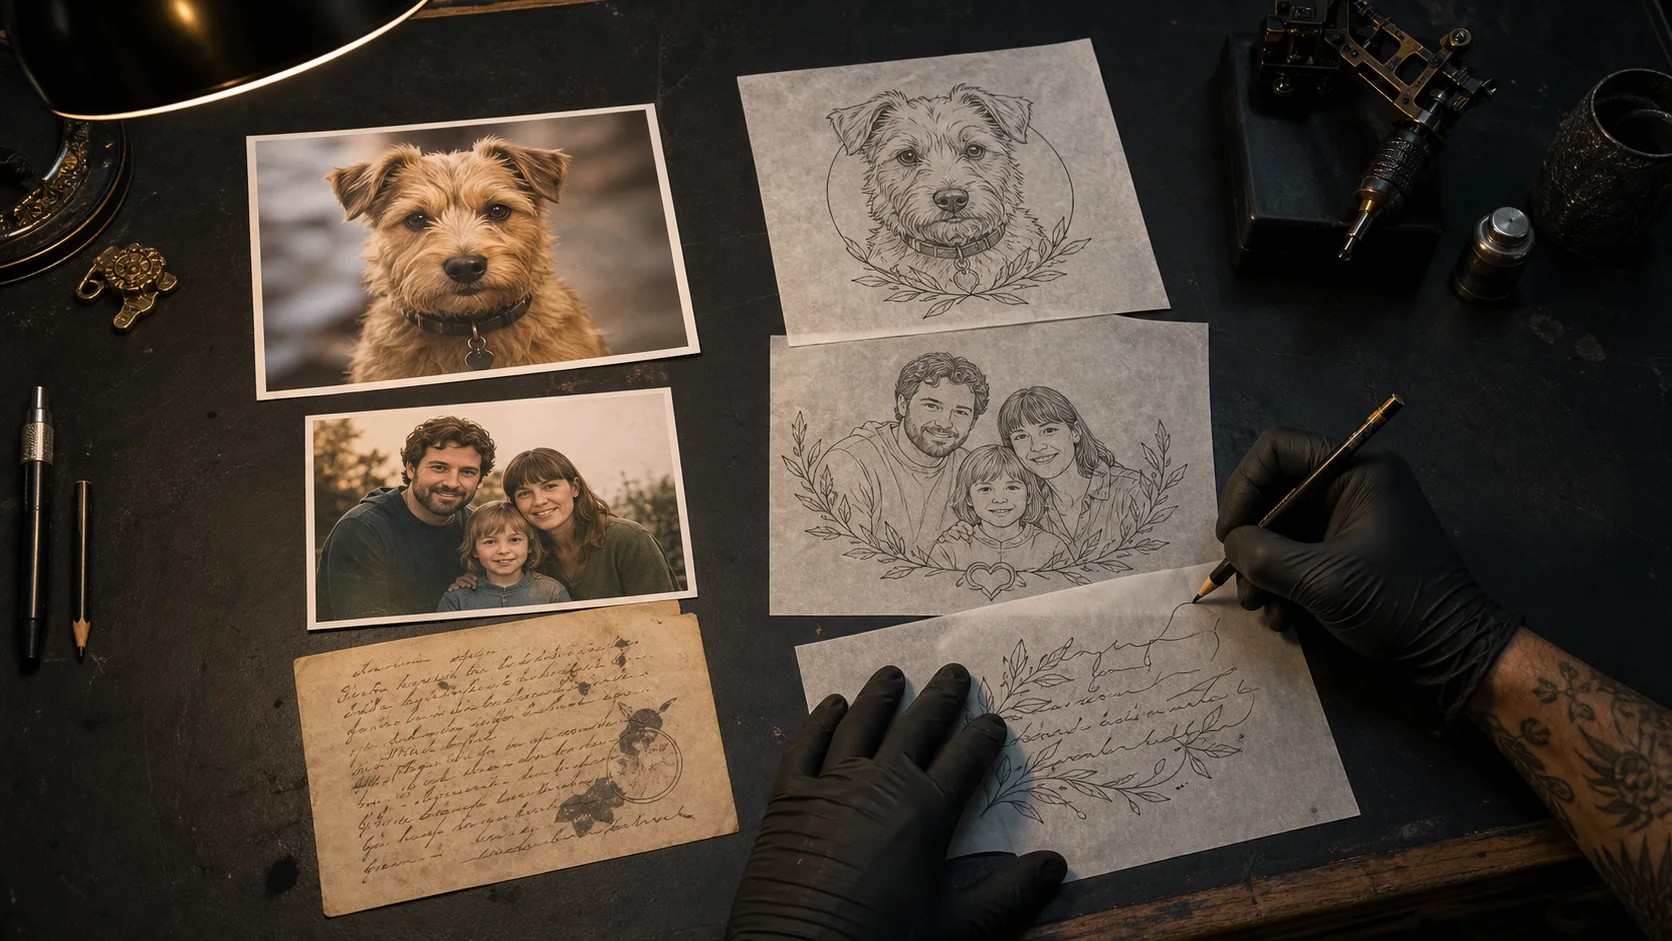
The terrier in the photograph has a white streak over one eye, a bent ear, and hundreds of pale hairs catching the window light. The old note has a coffee mark, a torn edge, and one sentence in your mother's hand. All of that belongs to the memory. Very little of it belongs in the tattoo.
Skin gives a design less room and less contrast than a screen. Fine lines soften. Adjacent shadows settle together. A forearm bends through the image every time the wrist turns. Turning a photo into a tattoo design starts with deciding which details carry the identity and which details can go.
This is where a useful photo-to-tattoo process earns its keep. It gives the artist a clear subject, a readable direction, and enough freedom to draw for the body.
Photo to tattoo design starts with ruthless editing
A camera records the background, reflected light, stray hair, pores, fabric, and every middle gray between black and white. A tattoo has to organize that information into lines, black shapes, open skin, and controlled shading. Copying every visible detail produces a muddy design long before it produces a faithful one.
Look at the photo from across the room. The feature you recognize first is usually the feature the tattoo must protect. With a dog, it may be the unequal ears or the bright patch around the muzzle. With a person, it may be the tilt of the mouth; each wrinkle can be simplified. With handwriting, the spacing and nervous slant often carry more personality than the exact thickness of the pen stroke.
Write those features down. Two or three are enough. They become the editing rule when you start comparing styles.
Choose one strong frame and bring the rest
The primary image needs sharp focus, even light, and an unobstructed view of the features you care about. Natural window light usually gives an artist more usable information than a flash. Filters erase fur color and skin texture. Wide-angle phone shots taken close to a face stretch the nose and narrow the sides of the head.
Pet portrait artist Barış Öztekin asks clients for 10 to 15 clear photos in natural light, including front and side views, with the face and ears fully visible. That number is useful because no single photograph explains a living subject completely. One image can lead the composition; the others settle questions about markings, eye shape, and proportion.
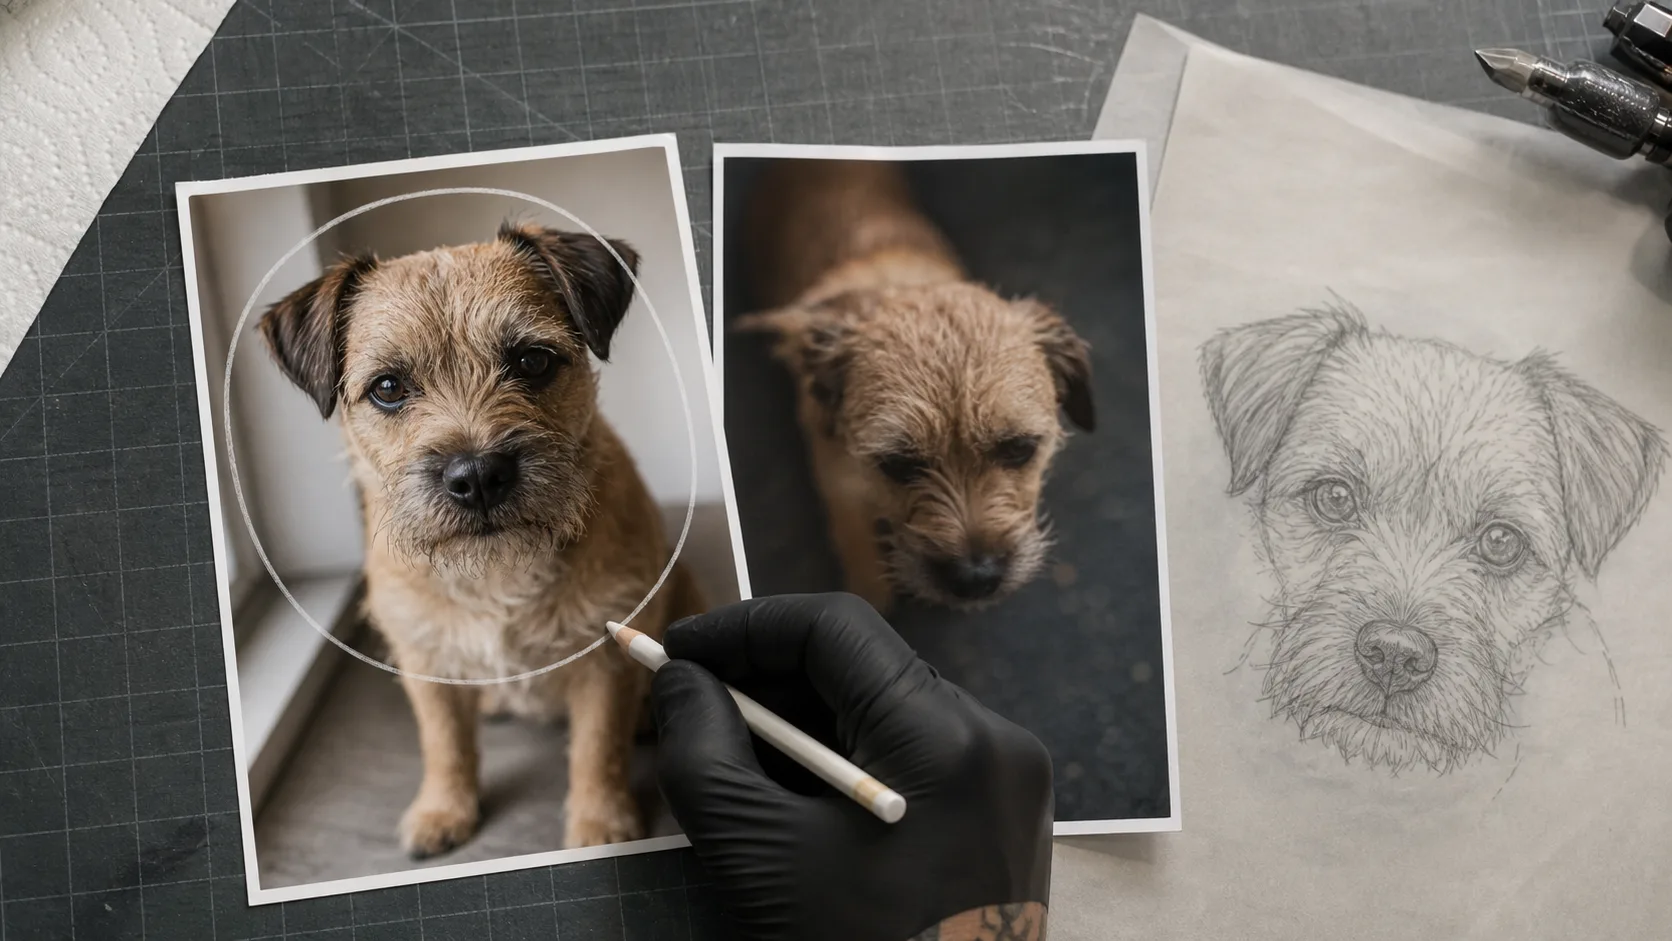
Old family photos rarely meet that standard. Work with what exists. Scan the print at high resolution, leave the original uncropped, and include other pictures of the same person if you have them. An artist can borrow the jawline from one frame and the expression from another without inventing a stranger.
For handwriting, photograph or scan the full page before isolating the chosen words. The surrounding lines reveal the writer's normal rhythm. Keep the original file untouched and make edits on a copy.
One subject can carry several tattoo styles
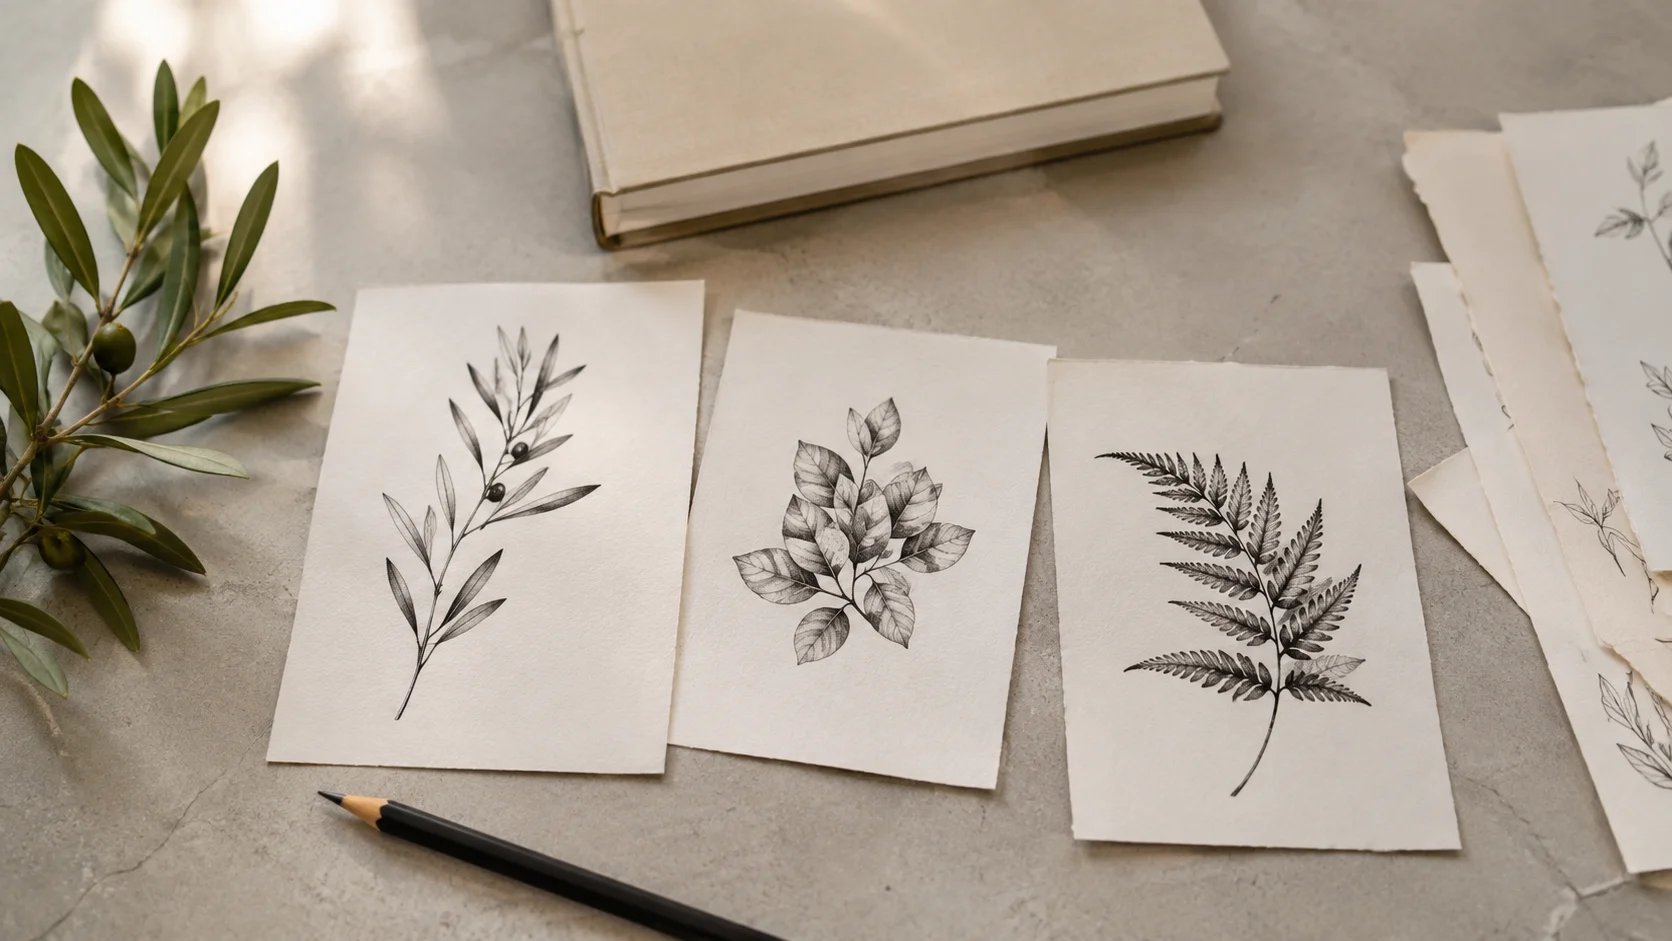
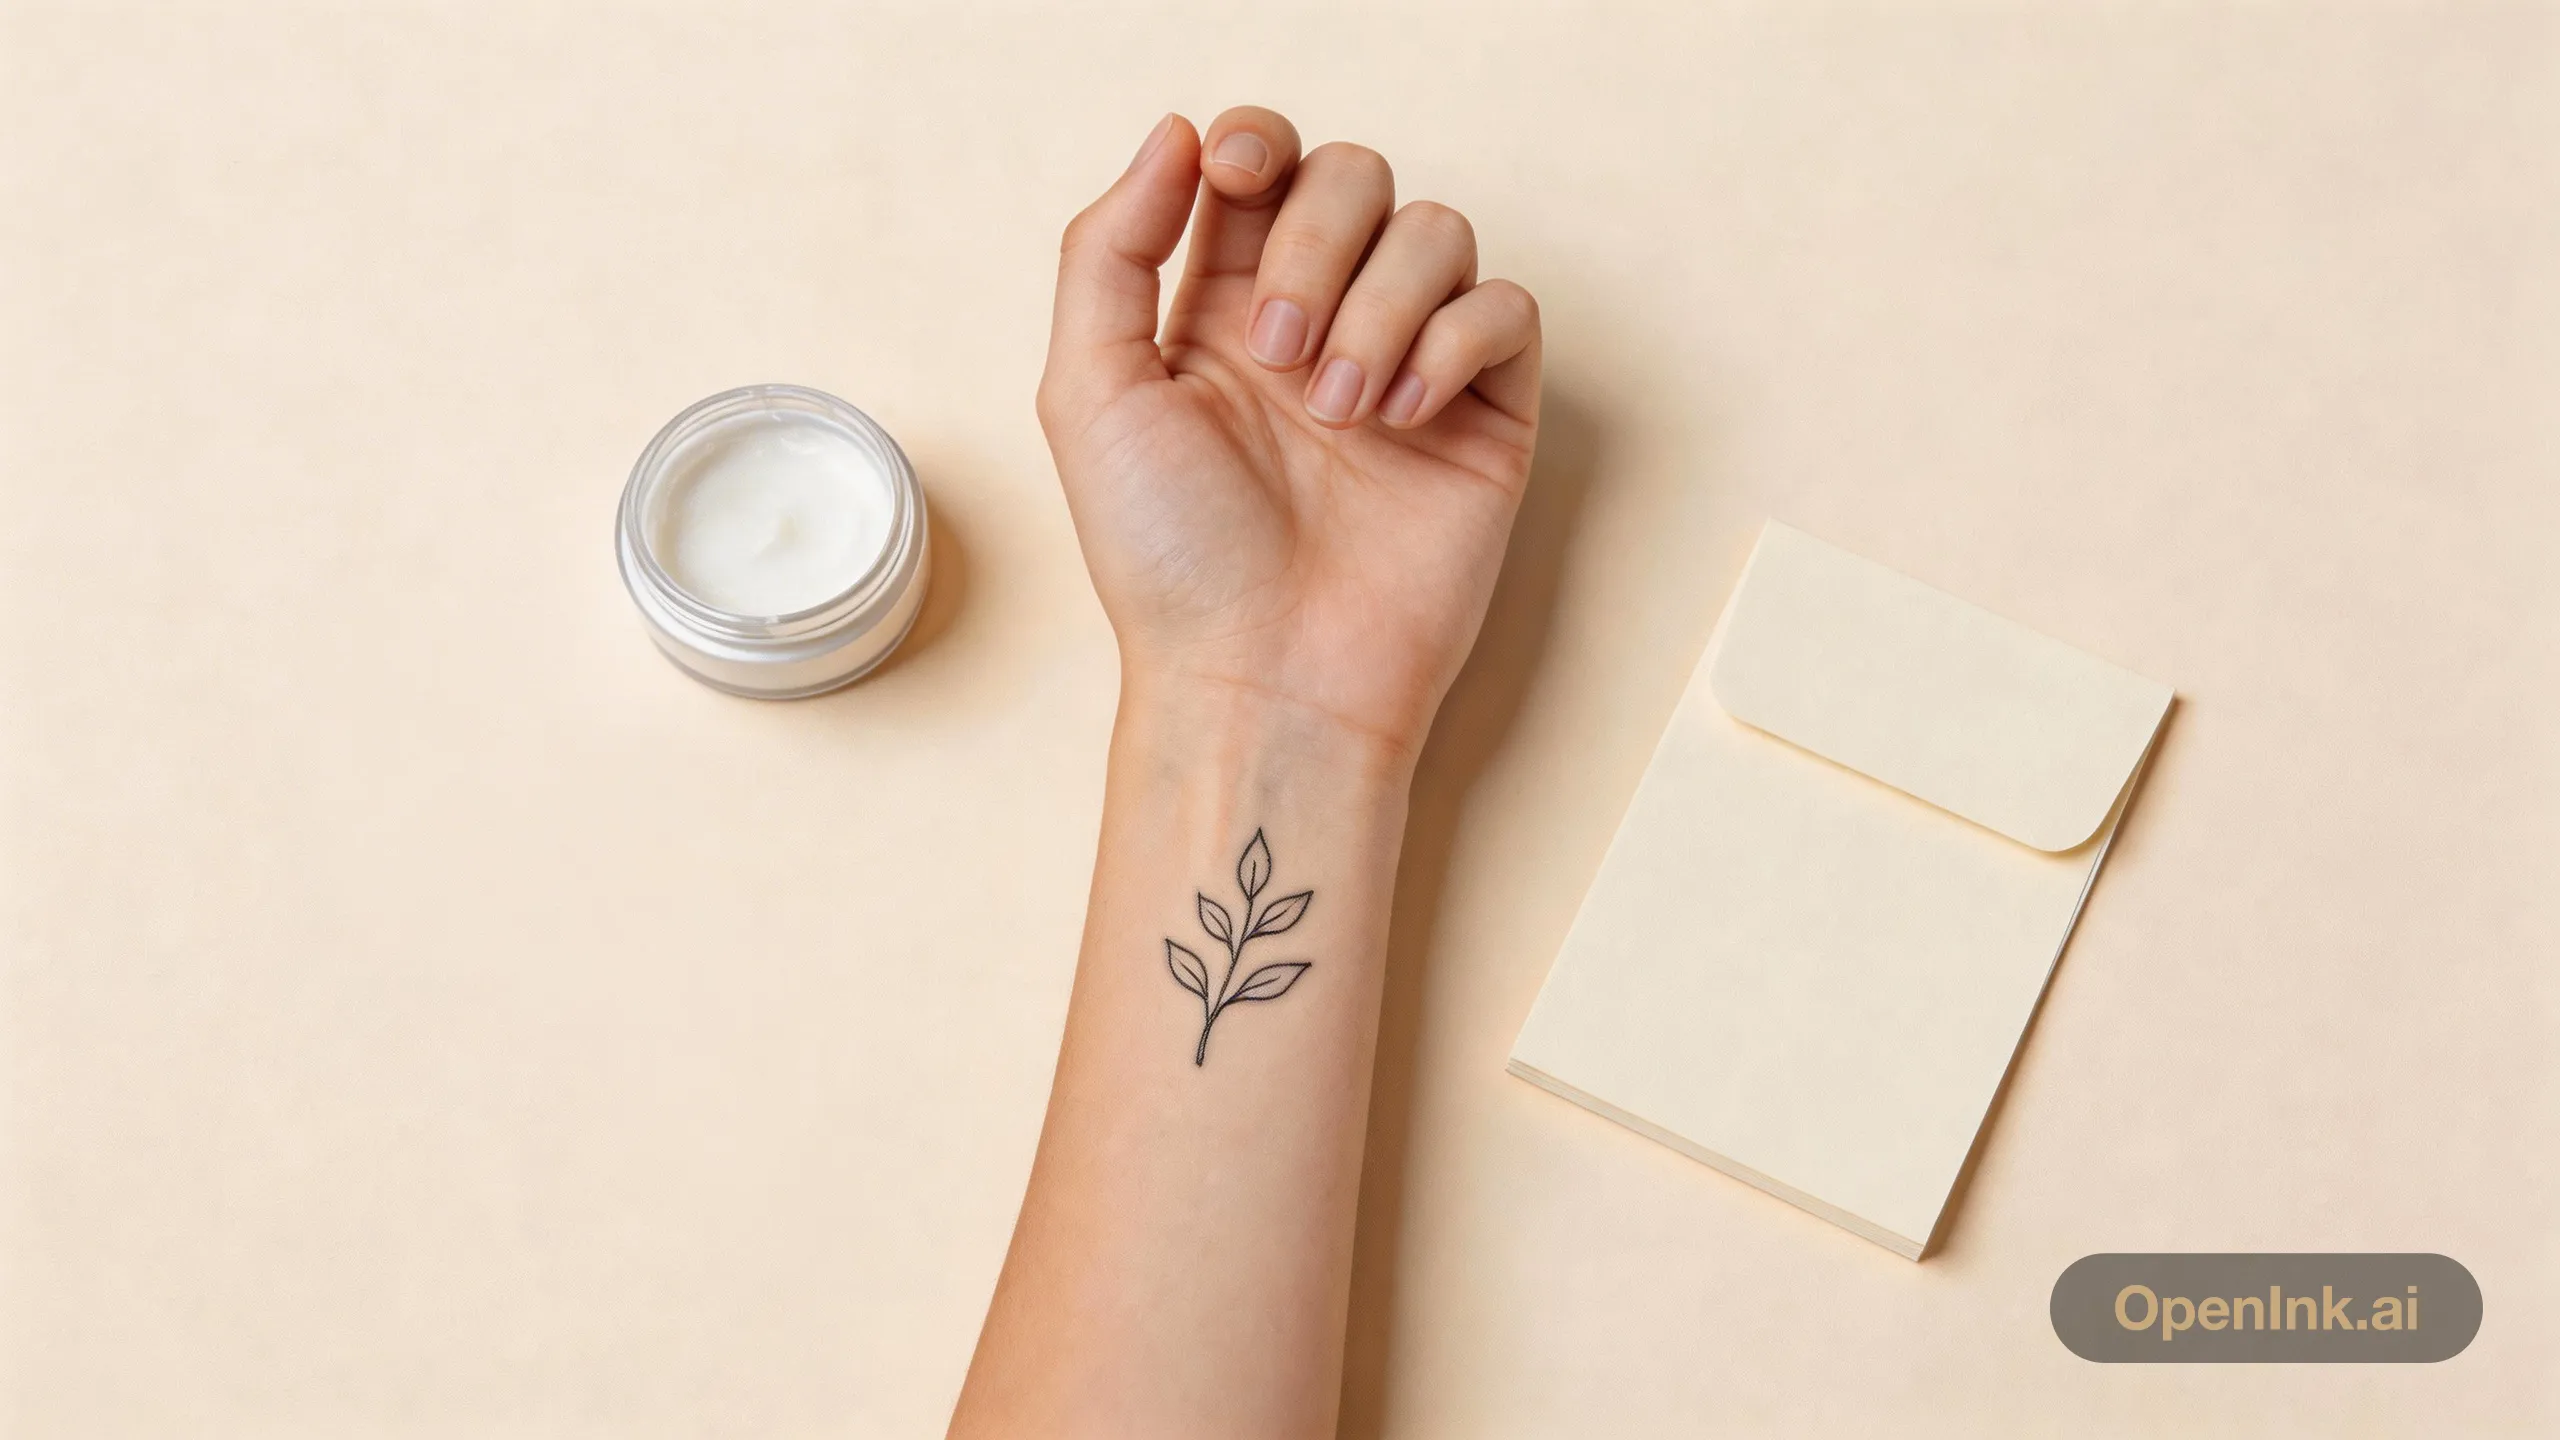
Realism keeps the most facial information, but it asks for space, smooth tonal transitions, and an artist who can show strong healed portraits. Black-and-gray illustration can simplify fur and skin while keeping the expression. Fine line pulls the subject toward outline and a few selective shadows. Blackwork can reduce it further to a silhouette, markings, and negative space.
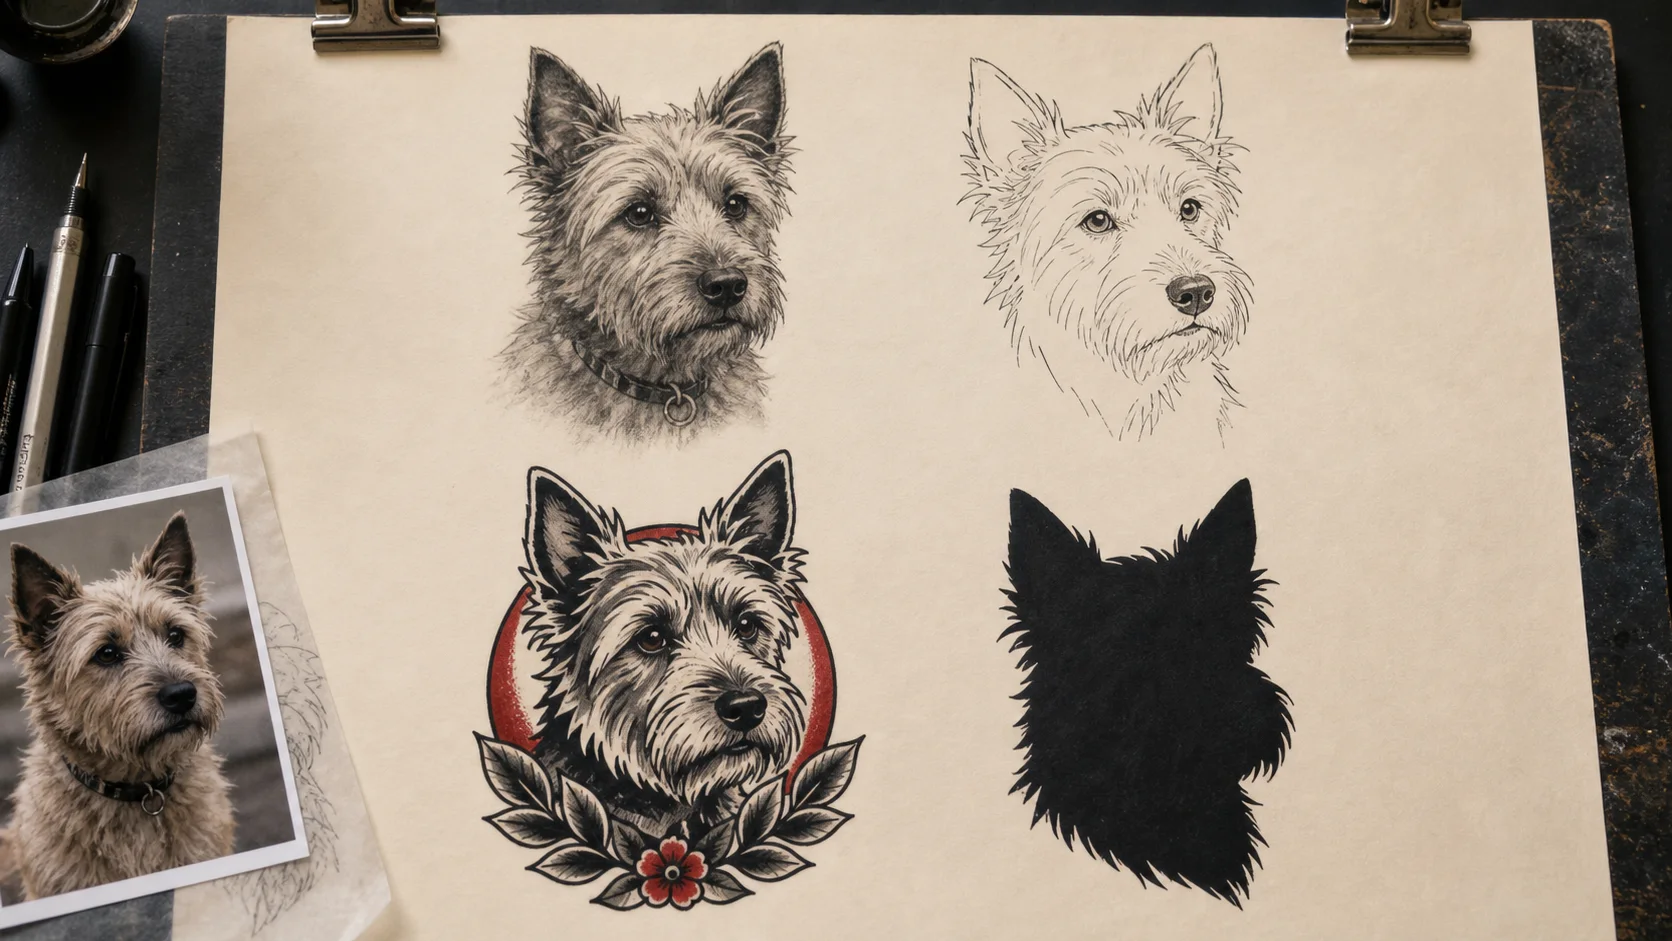
American traditional changes the likeness more aggressively. It can frame a pet as a bold cameo with a limited palette, heavy outline, and a flower or name banner. The likeness can sit in the animal's posture, markings, and attitude. Photographic texture can disappear without losing the dog. That is a sound choice when the original photo is weak or the placement needs a compact, durable shape.
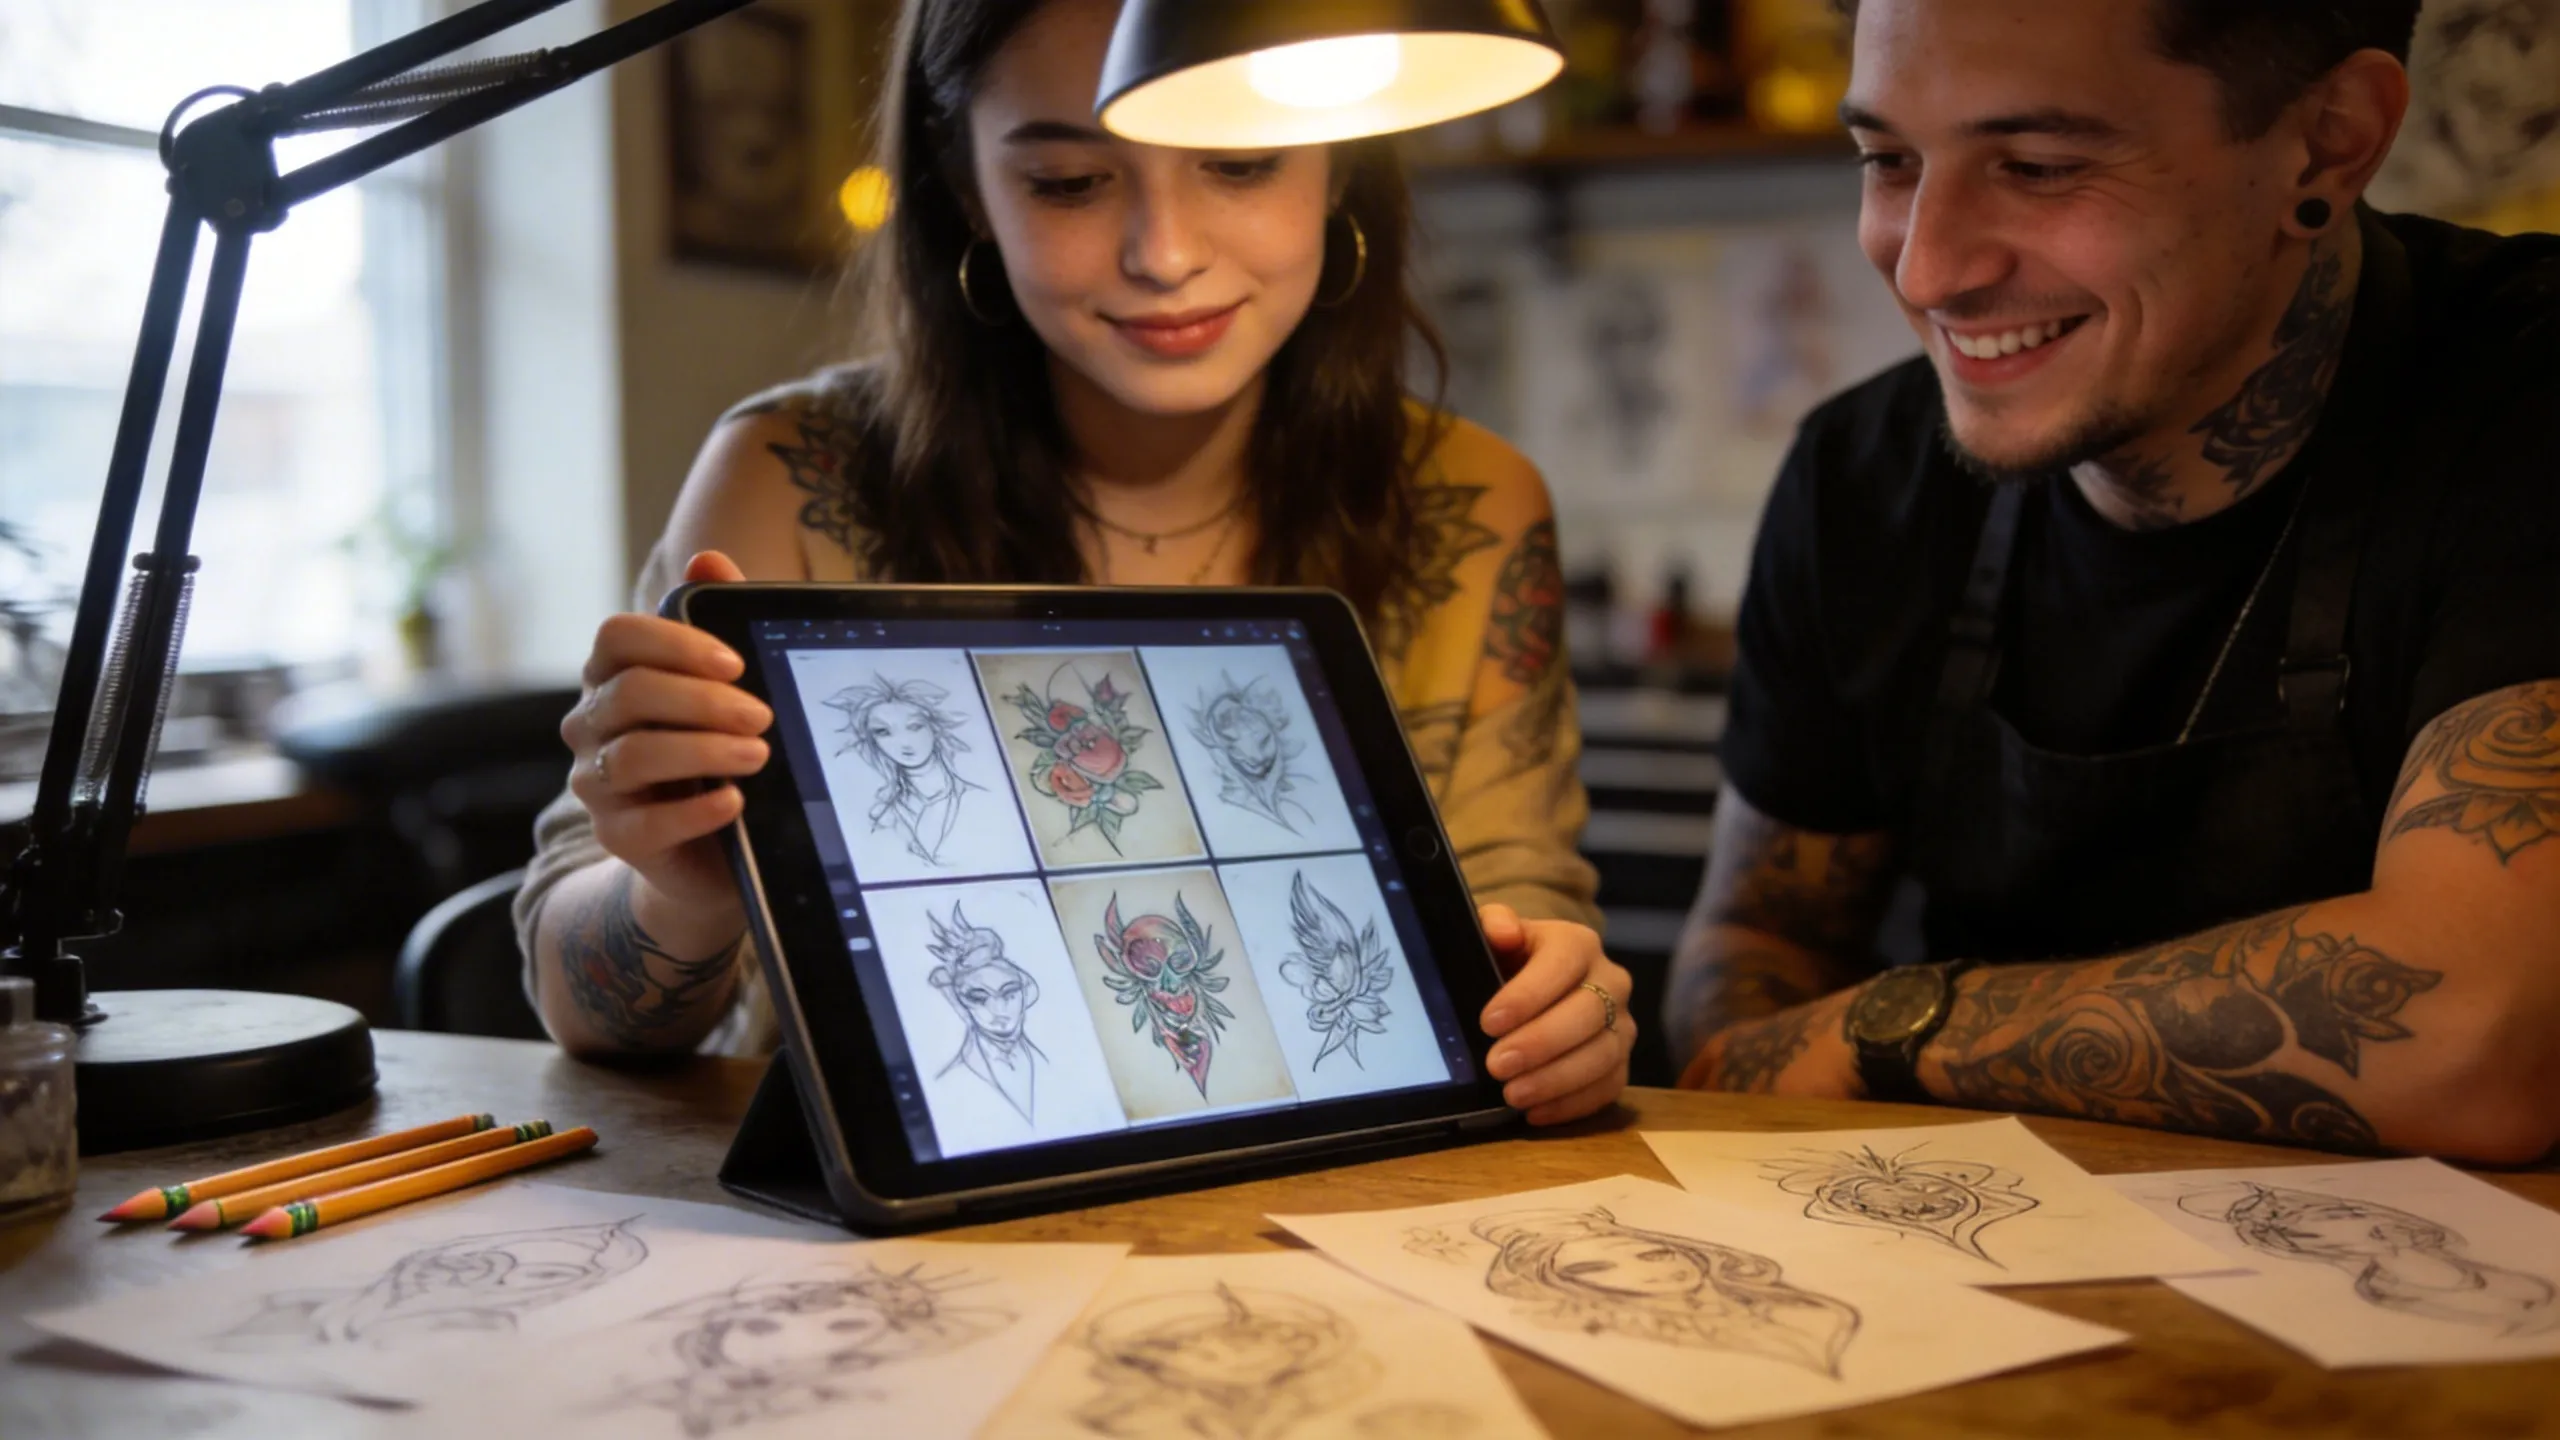
Choose from real healed portfolios. A screen mockup can help compare directions, though it cannot show how a particular artist's lines and shading settle. Our style gallery is useful for naming the visual lane before you start looking for specialists.
Pets, people, and handwriting fail in different places
Pet portraits depend heavily on the eyes, ear shape, muzzle, and major color blocks. Trying to render every strand of fur makes the face noisy. Fur needs direction and grouping. Monolith Studio's portrait guidance also stresses source quality, adequate size, and an artist with relevant healed work; animal fur adds its own technical demands.
Human portraits expose small proportional errors immediately. The distance between the eyes, the edge of a nostril, or the angle of a smile can change the person. Give the artist permission to simplify texture while holding the structure. Family members usually recognize posture and expression before they notice tiny surface detail.
Handwriting has another weak point: cleaning it until it looks typed. The uneven baseline, crowded letters, and awkward capital may be the whole reason the sample feels alive. Preserve those choices. Let the artist reinforce broken or pale strokes only where tattooing requires it. A short phrase generally carries the original hand better than a dense paragraph, especially at small scale.
Size and placement decide what survives
Set the intended size in centimeters or inches before approving detail. A portrait that looks open and calm on a tablet can collapse when printed at six centimeters. Print it at actual size. Hold it against the body. Check the eyes, mouth, fingers, tags, and loops in the lettering. If two dark features nearly touch on paper, they need more room on skin.
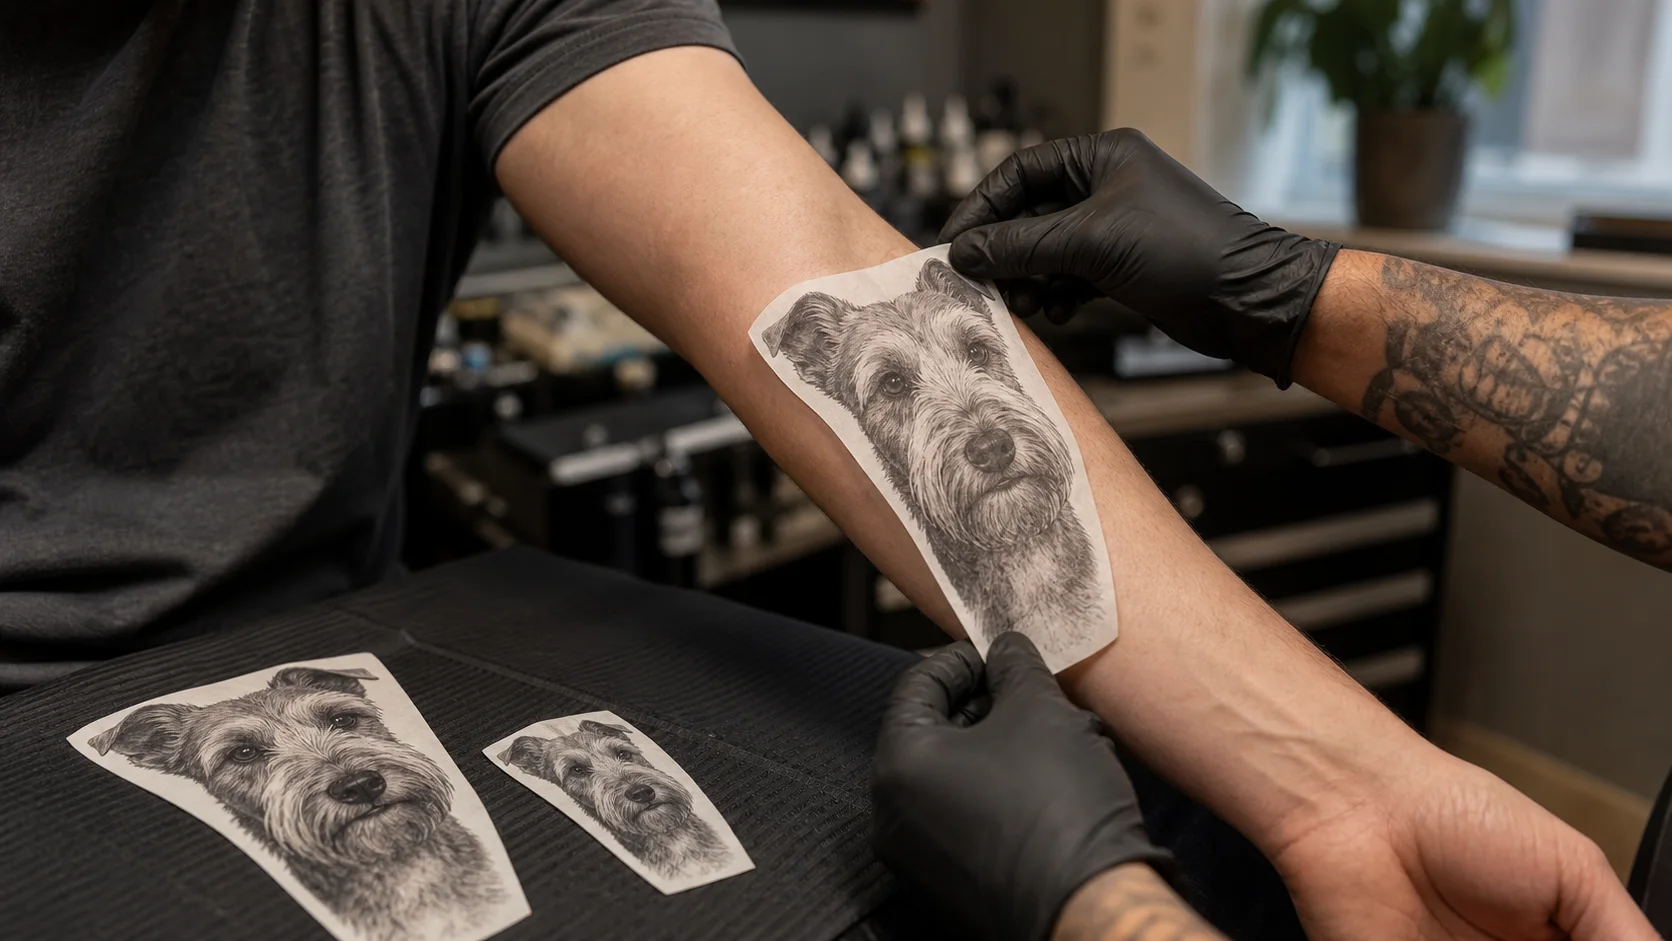
Placement changes the drawing as well. A portrait on the outer upper arm can take a broad oval. A forearm design often needs a narrower vertical composition. Ribs, shoulder blades, and thighs move on different axes. Good artists redraw around that movement. A flat rectangle usually fights the body.
Use our tattoo try-on to compare general scale and position, then confirm the final stencil in person. For delicate work, the fine line tattoo guide explains why breathing room still matters once the tattoo has fully healed.
Use a generated draft to choose direction
A generated tattoo study is most useful early. Upload the reference, try two or three visual treatments, and compare what each one preserves. Keep the bent ear. Drop the sofa. Test the handwritten date below the portrait, then remove it if the composition gets crowded.
The draft should stay editable. It is a way to settle style, crop, contrast, and rough placement before a consultation. The artist still needs to redraw for your anatomy, their line weight, and their own method of tattooing. Bring the original photo alongside every generated version so the source never gets lost behind the interpretation.
You can start that comparison in the Photo to Tattoo workspace. Once the direction feels stable, the stencil maker can help you inspect the main contours. Treat both as planning material. The artist owns the final tattoo drawing and stencil.
Give the artist a short, useful package
Send one primary photograph at full resolution, several supporting views, the desired body area, and an approximate size. Add a plain sentence naming the details that must stay. Mention any element that can disappear. If the photo was taken by somebody else, confirm you have permission to use it.
Then show references from the artist's own portfolio. Point to a healed portrait with the contrast you like or a linework piece with the amount of simplification you can live with. This keeps the request inside the artist's actual craft instead of asking them to imitate a stranger's finished tattoo.
Ask for healed examples in the same style and a similar size. Also follow the artist's aftercare directions and protect healed work from strong sun; the American Academy of Dermatology recommends broad-spectrum, water-resistant SPF 30 or higher on tattooed skin when outdoors.
Before approving the stencil, check the feature named at the start of the process. The bent ear, the angle of the smile, or the awkward slant in the handwriting should still read at actual size. When that detail survives, the artist has enough to build the rest of the piece.
Frequently asked
Can a tattoo artist work directly from a photo?
Yes. A clear primary photo and a few supporting images usually give an artist more useful information than a finished design from another source. The artist can then redraw the subject for your chosen style, size, placement, and skin.
What kind of photo works best for a pet portrait tattoo?
Use a sharp image in natural light with both eyes, the ears, and the outline of the head visible. Bring several additional photos so the artist can check markings, fur direction, and proportions.
How small can a portrait tattoo be?
The safe size depends on the style, placement, contrast, and the artist's healed results. Faces and detailed fur need room. Ask the artist to show the smallest scale at which the important features will remain separate after healing.
Can I turn old handwriting into a tattoo?
Yes. Use the highest-resolution scan or photograph you have and preserve the original letter shapes, spacing, and small irregularities. An artist may strengthen weak strokes so the writing survives at tattoo scale.
Turn this guide into a tattoo draft
Keep the motif from this article, then test style, placement, and line weight before you talk with an artist.