GPT Image 2.5 in OpenInk: Tattoo Prompts with a Clear Brief
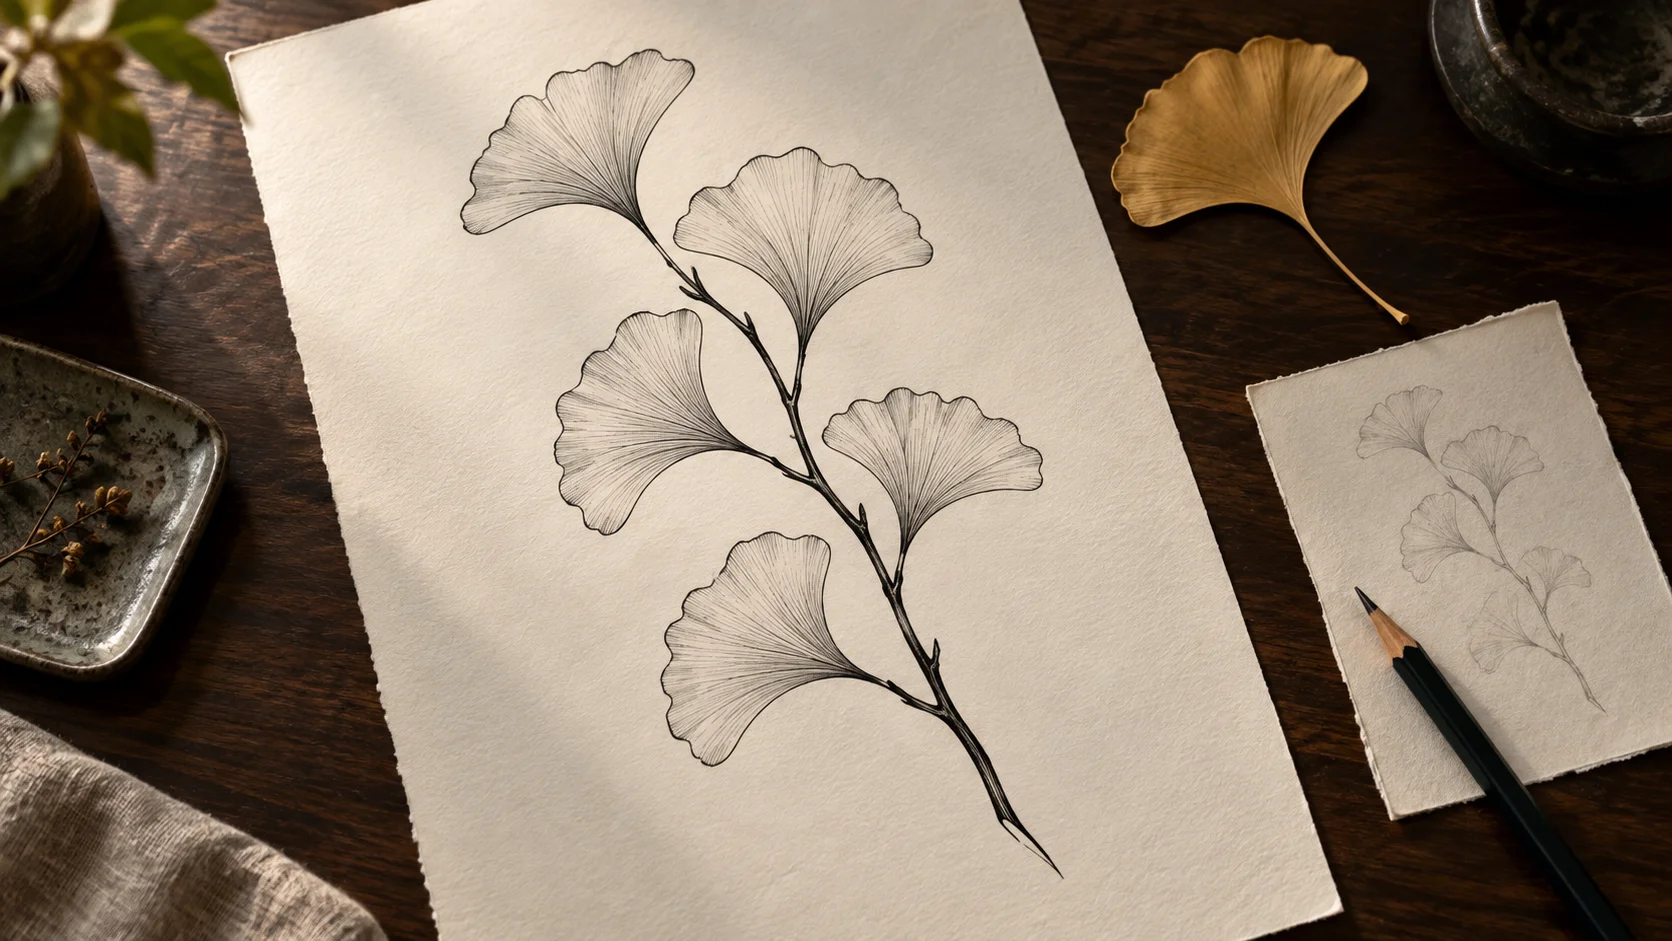
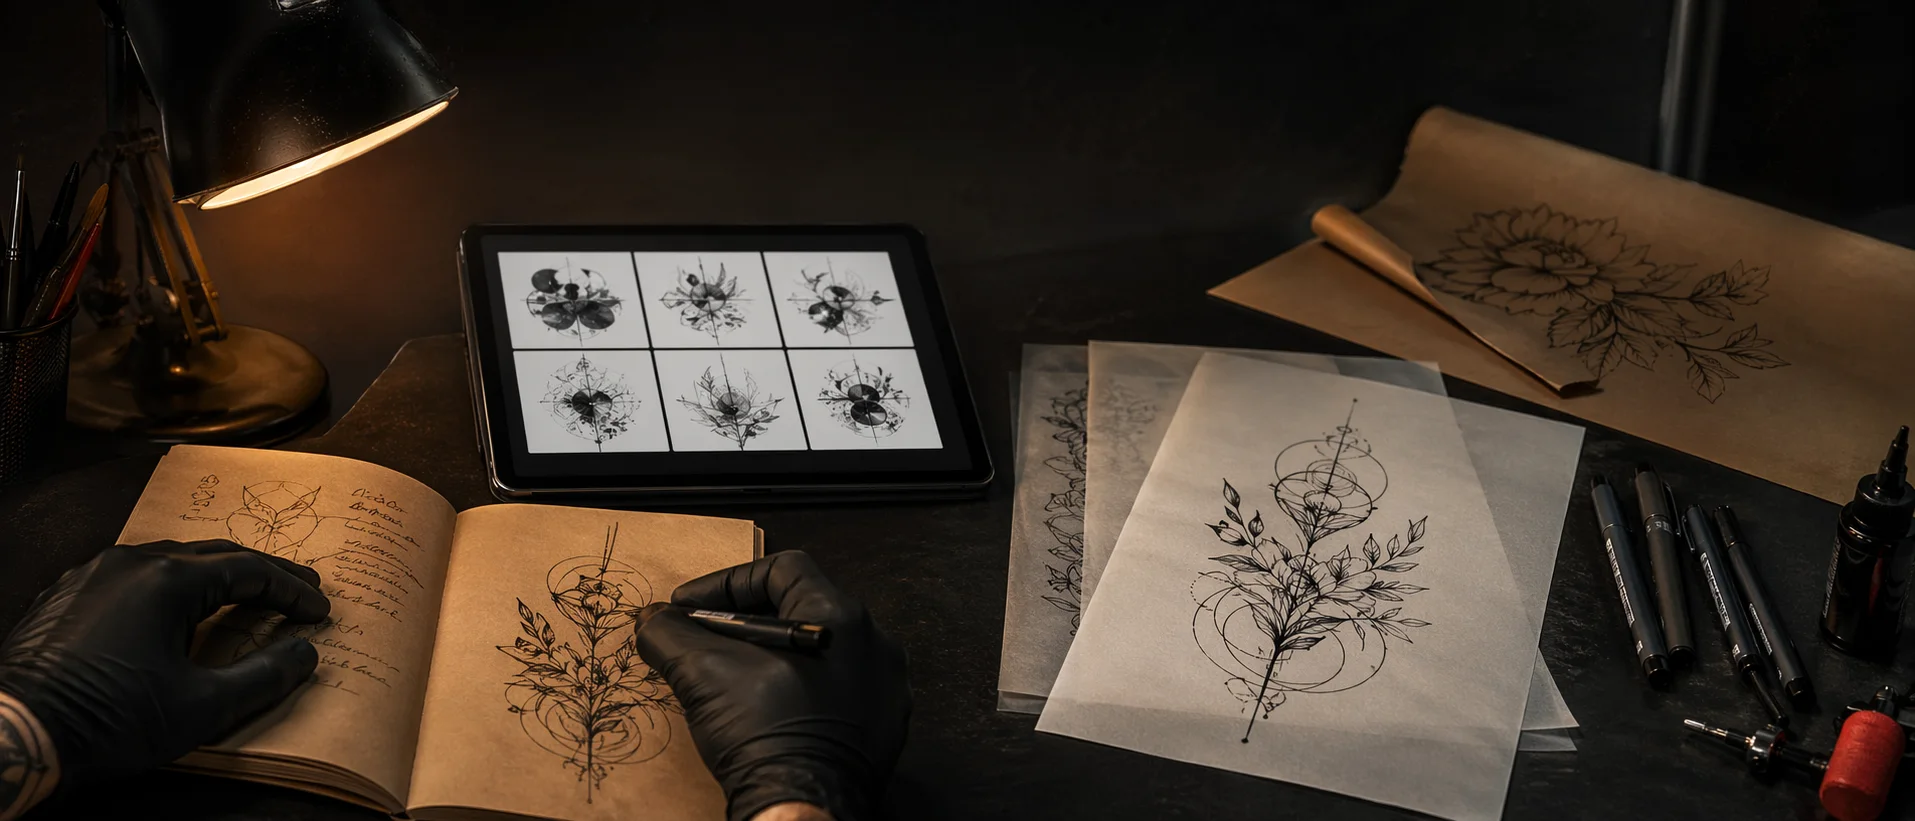
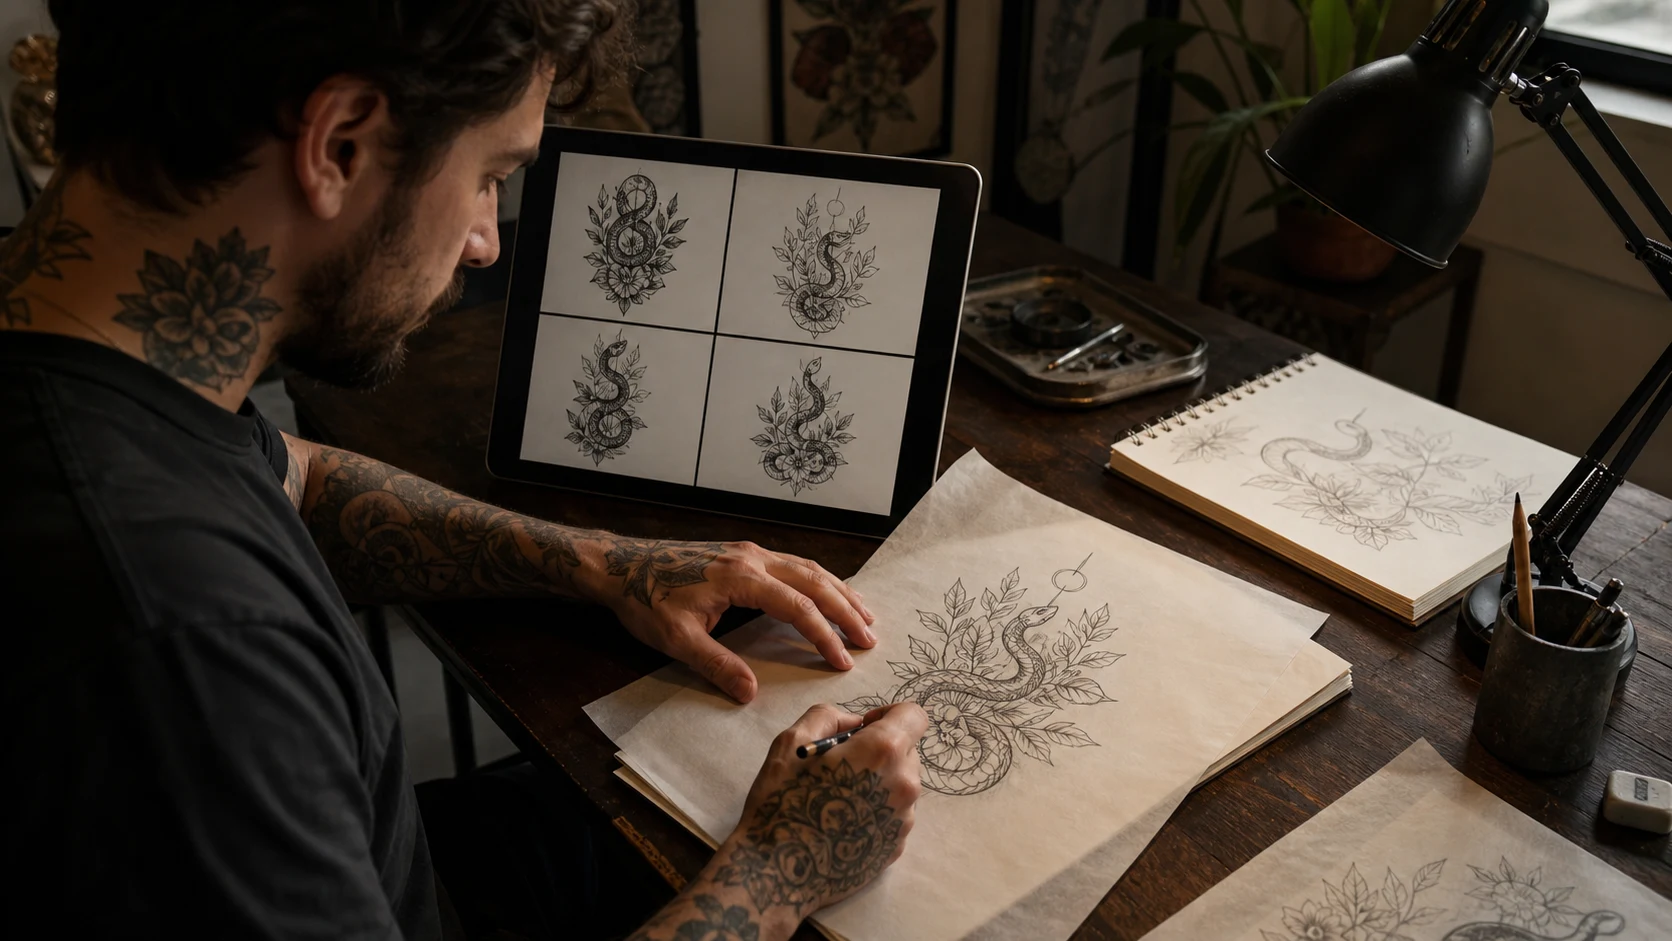
All images in this post were generated with Image_gen as editorial illustrations. They are not OpenInk screenshots, exact outputs of the example prompt, or a model benchmark. The fine veins and fur shown here still need an artist’s judgment at the intended tattoo size.
OpenInk has upgraded its core image generation to GPT Image 2.5 Flare. The aim is quicker drafts, with less waiting while you work out a design. OpenAI describes Flare as its speed-focused model for high-quality everyday images. Your actual wait still depends on the request and service load.
There is a useful distinction in the official prompting guide: Flare targets quality comparable to GPT Image 2, while the 2.5 family improves precise editing and subject preservation. Expect a faster tool for exploring an idea. Keep judging the drawing that comes back.
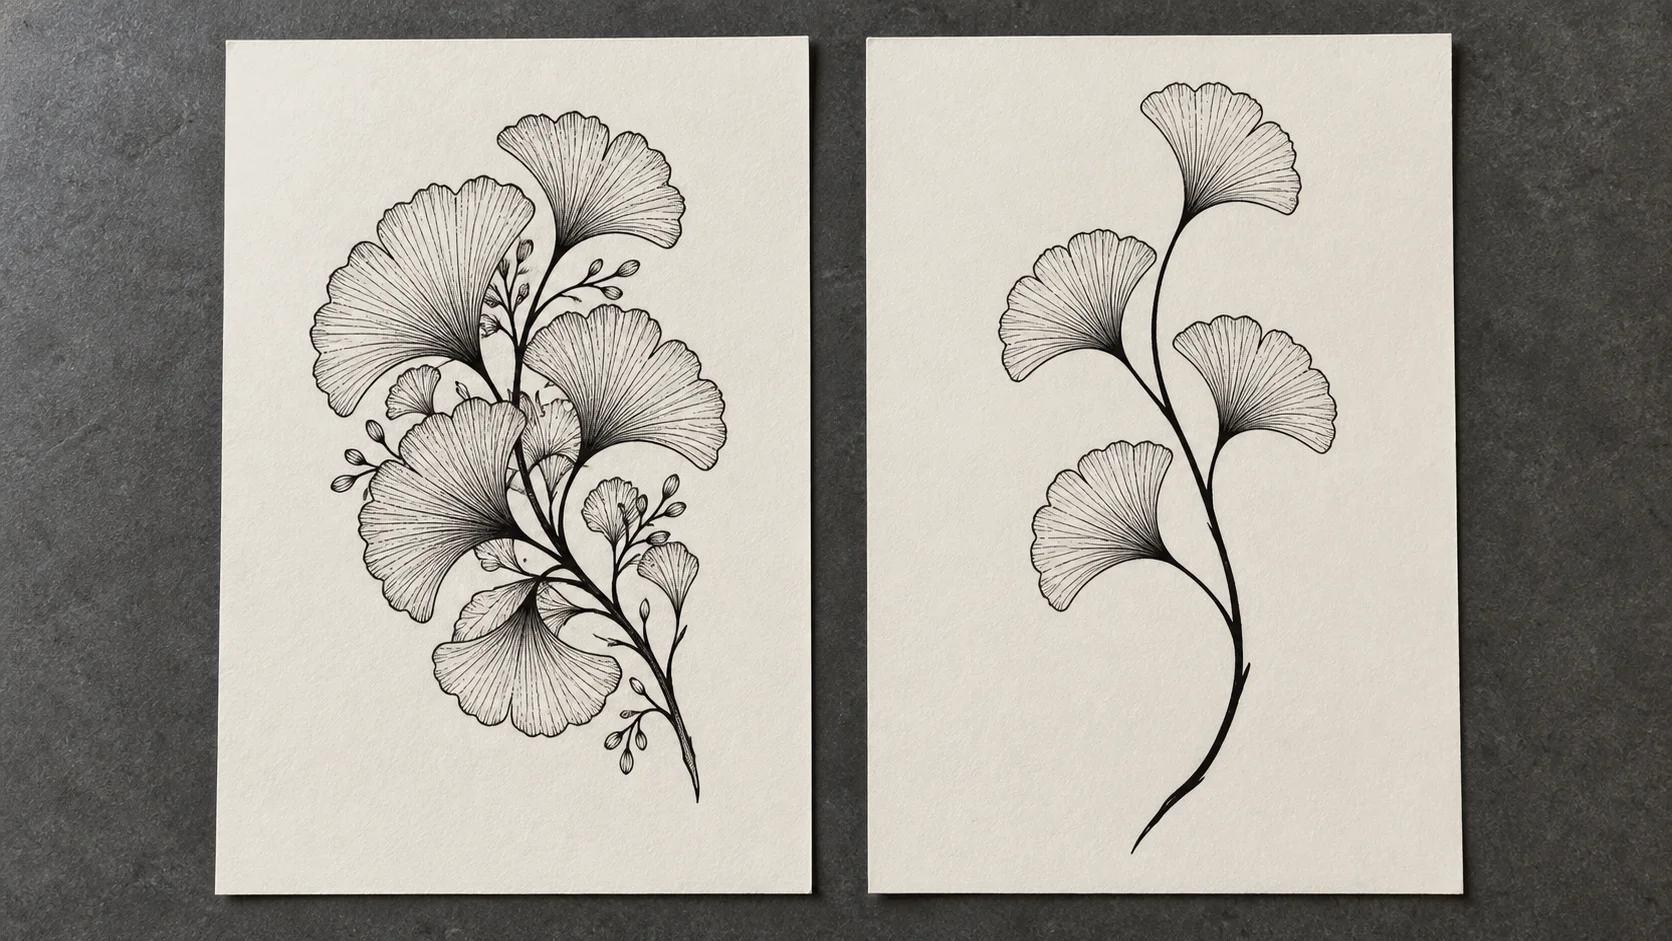
For a tattoo, that judgment often starts with empty space. A ginkgo branch can look lovely enlarged on a screen and feel cramped when its leaves are packed around a narrow stem. The prompt needs to give that branch room.
A GPT Image 2.5 tattoo prompt with somewhere to go
“An elegant ginkgo tattoo” leaves the composition wide open. The result might be a round wreath, a dense spray of leaves, or a little tree. Add the body area and the shape you want before adding more mood words.
Try this in OpenInk’s text generator:
A black-ink ginkgo branch tattoo concept for the outer forearm, intended to be about 15 cm tall. One gently curved stem in a long, tapering composition, with five distinct fan-shaped leaves. Give the main stem a clear, confident line and keep the leaf veins sparse. Leave visible gaps between every leaf. Plain background, no lettering, no extra flowers or decorative frame.
The stem carries the drawing; the leaves give it rhythm. Sparse veins keep the eye on those fan shapes. The stated size is a design brief, with final dimensions to be checked by an artist on your arm. An image model does not produce a calibrated 15 cm stencil.
Use your own language in the prompt. Pick any available style and placement options that agree with it. A delicate botanical brief paired with a heavy blackwork selection gives the generator competing directions.
Make the next draft answer one specific complaint
If the leaves overlap, change the spacing instruction. Keep the rest of the prompt and replace that sentence with:
Separate the five leaves along the stem, with a broad gap of blank space between them; use only a few vein lines inside each leaf.
Paste the complete revised prompt and generate again. OpenInk’s text workbench makes a new image on each submission, so the curve and leaf shapes may move too. A short “keep everything else” message there cannot lock the previous image in place.
Save a draft once its silhouette feels right. Enlarging it endlessly to inspect tiny veins can distract from the decision that matters: a long, open branch or a fuller, heavier cluster. Bring the preferred shape and the approximate size to your artist before committing to the smallest details.
Start with a photo when likeness matters
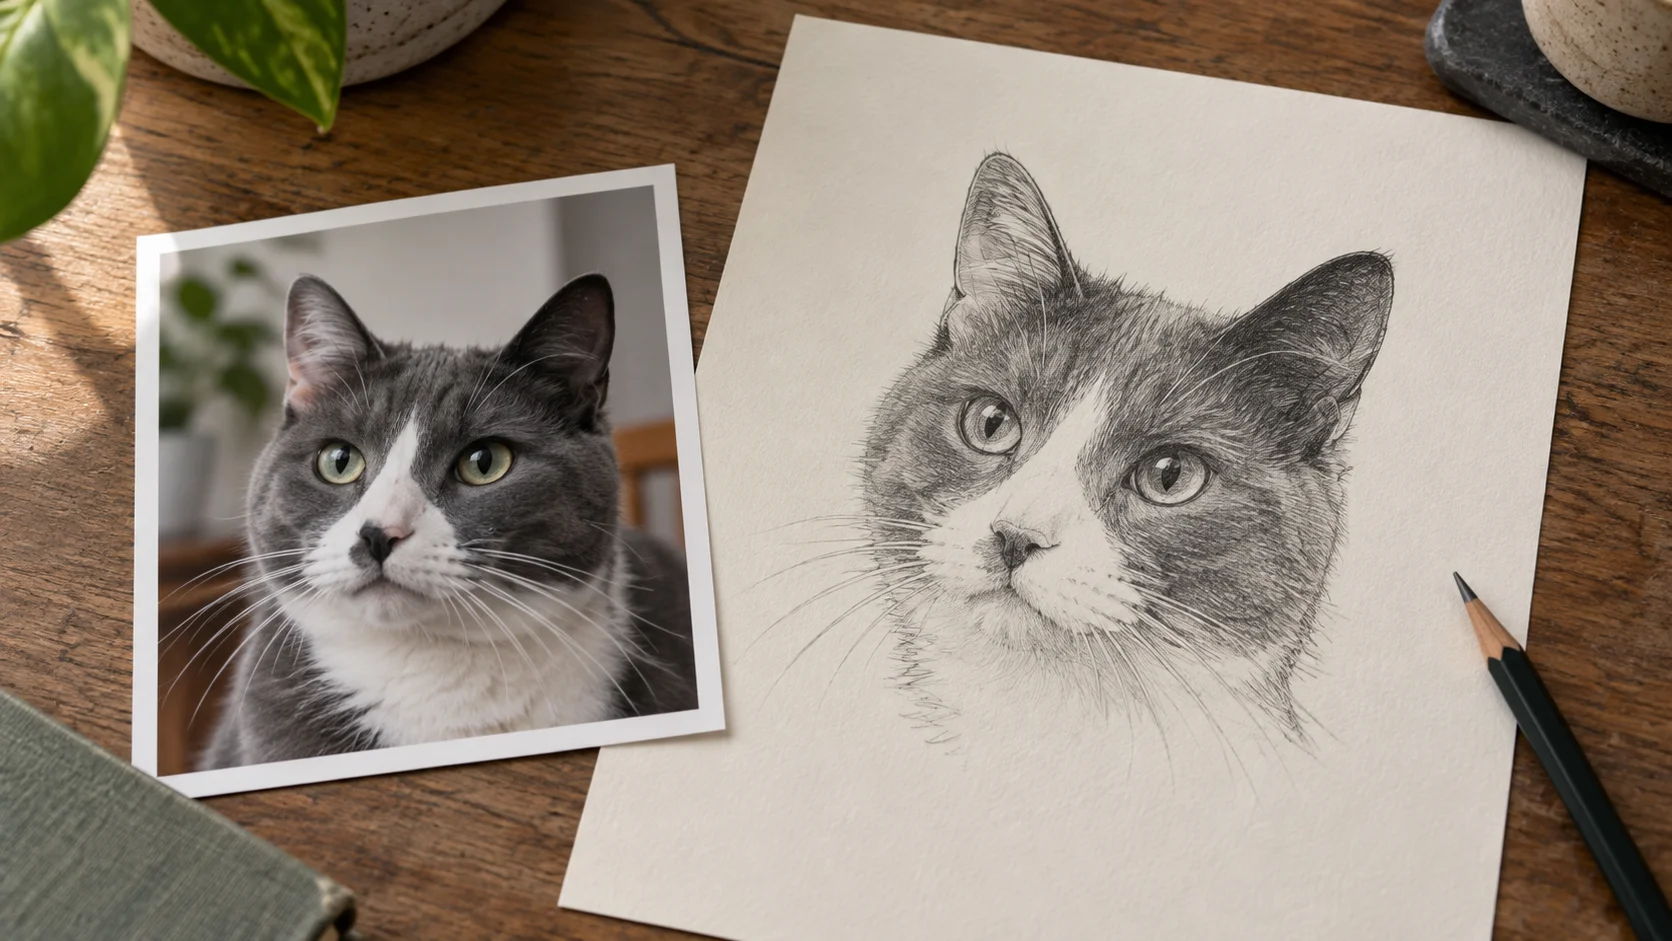
For a pet portrait, open Photo to Tattoo, upload your reference, choose the available style options, and generate. This workbench uses an image upload; it has no free-text prompt field.
Choose a photo with visible eyes, a clear ear outline, and recognizable markings. On a grey-and-white cat, the white muzzle patch may do more for likeness than a page full of tiny fur strokes. Compare those features with the source before choosing a result. Keep the original photo for the artist as well.
Read the sharing notice before generating. Guest accounts and accounts with no successful payment history send generated work for community review. Accounts with a successful payment history default to private generation. Get permission before uploading private client references or someone else’s photos.
Carry the reference through to the appointment
Use placement preview with the design and a photo of the body area to explore the overall fit. It gives a rough visual impression; the artist still needs to set the real size and position. If stencil extraction is available in your account, extract linework for discussion. Have the artist inspect and redraw it before any transfer or tattooing.
Studio briefs already ask for this kind of information. Baris Yesilbas’s booking FAQ requests the idea, placement, size, and reference material. Take one selected draft, the original photo if relevant, and a short note about what you want to keep. Say that the draft is AI-generated, and check whether the artist is comfortable working from it.
Our tattoo design brief guide helps organize that handoff. For the ginkgo piece, the useful note is simple: keep the curved stem and open leaf spacing; let the artist decide the final veins and line weight at the agreed size.
Turn this guide into a tattoo draft
Keep the motif from this article, then test style, placement, and line weight before you talk with an artist.